
Scrappy jumbo floor pillow

Hi all! Today I’m sharing a pattern for making this fun, oversized floor pillow from scrap fabric, with half-square triangles.
You will need:
- scrap fabric in colorful prints
- 3/8 yard solid background fabric
- 3/4 yard for pillow back
- 26" square piece of muslin for pillow lining
- 26" piece of batting
- 24" pillow form
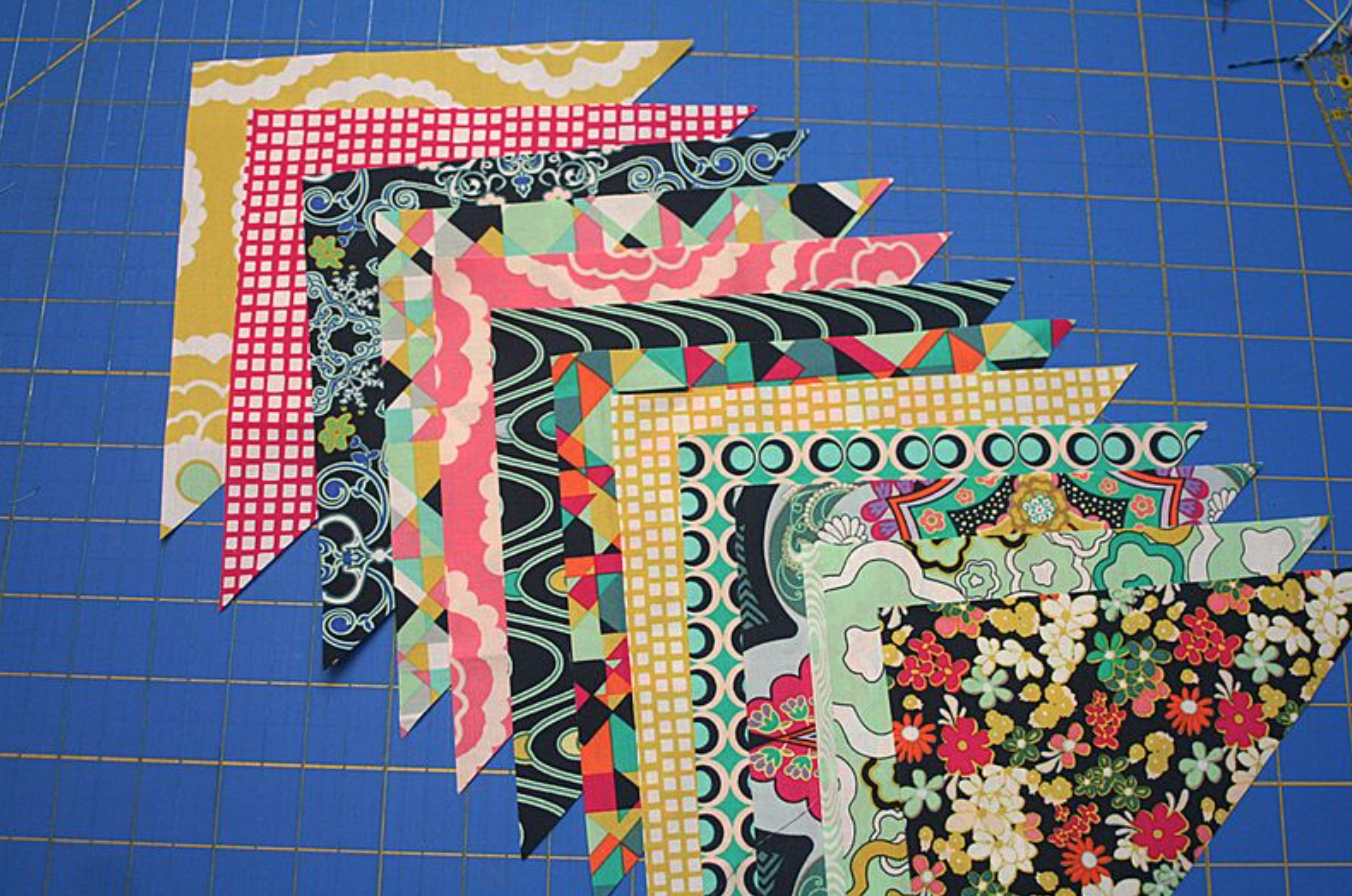
From the colorful scraps, cut the following:
- 4 squares 2" x 2", cut in half diagonally to make 8 triangles (you will use 4 of these triangles)
- 8 squares 3" x 3", cut in half diagonally to make 16 triangles (you will use 8 of these triangles)
- 12 squares 4" x 4", cut in half diagonally to make 24 triangles (you will use 12 of these triangles)
- 12 squares 7" x 7", cut in half diagonally to make 24 triangles (you will use 12 of these triangles)

From the solid background fabric, cut:
- 2 squares 2" x 2", cut in half diagonally to make 4 triangles
- 4 squares 3" x 3", cut in half diagonally to make 8 triangles
- 6 squares 4" x 4", cut in half diagonally to make 12 triangles
- 6 squares 7" x 7", cut in half diagonally to make 12 triangles
From the fabric for the pillow back, cut:
- 1 piece 12" x 24 1/2"
- 1 piece 18" x 24 1/2"
To make the pillow:

1. Pair up each solid background triangle (I used white) with a print triangle. Sew 1/4" from the long edge. Make the following units:
2" triangles - make 4 units
3" triangles - make 8 units
4" triangles - make 12 units
7" triangles - make 12 units

3. Square up the units using a ruler with a 45-degree angle. Line up the marked 45-degree line on the ruler with the HST seam. Square up to the following measurements:
2" triangle units = square up to 1 1/2"
3" triangle units = square up to 2 1/2"
4" triangle units = square up to 3 1/2"
7" triangle units = square up to 6 1/2"

4. Lay out your finished HST units as shown in the diagram above. The smallest 1 1/2" HST units are laid out in the center, in two rows of 2. The 2 1/2" HST units surround the 1 1/2" units. The 3 1/2" units surround that, and the 6 1/2" units surround that.

5. Join the 1 1/2" HST units into two rows of two, then join the two rows together to make a 2 1/2" finished block.

6. Join the 2 1/2" HST units together as shown, with the smaller pieced units at the center.

7. Join the 3 1/2" HST units together in sets of two, as shown, and join to each side of the center unit.

8. Join the remaining 3 1/2" HST units together in two rows of 4 units each, and join to the top and bottom of the center unit.

9. Repeat steps 7 and 8 using 6 1/2" HST units to complete the pillow top.

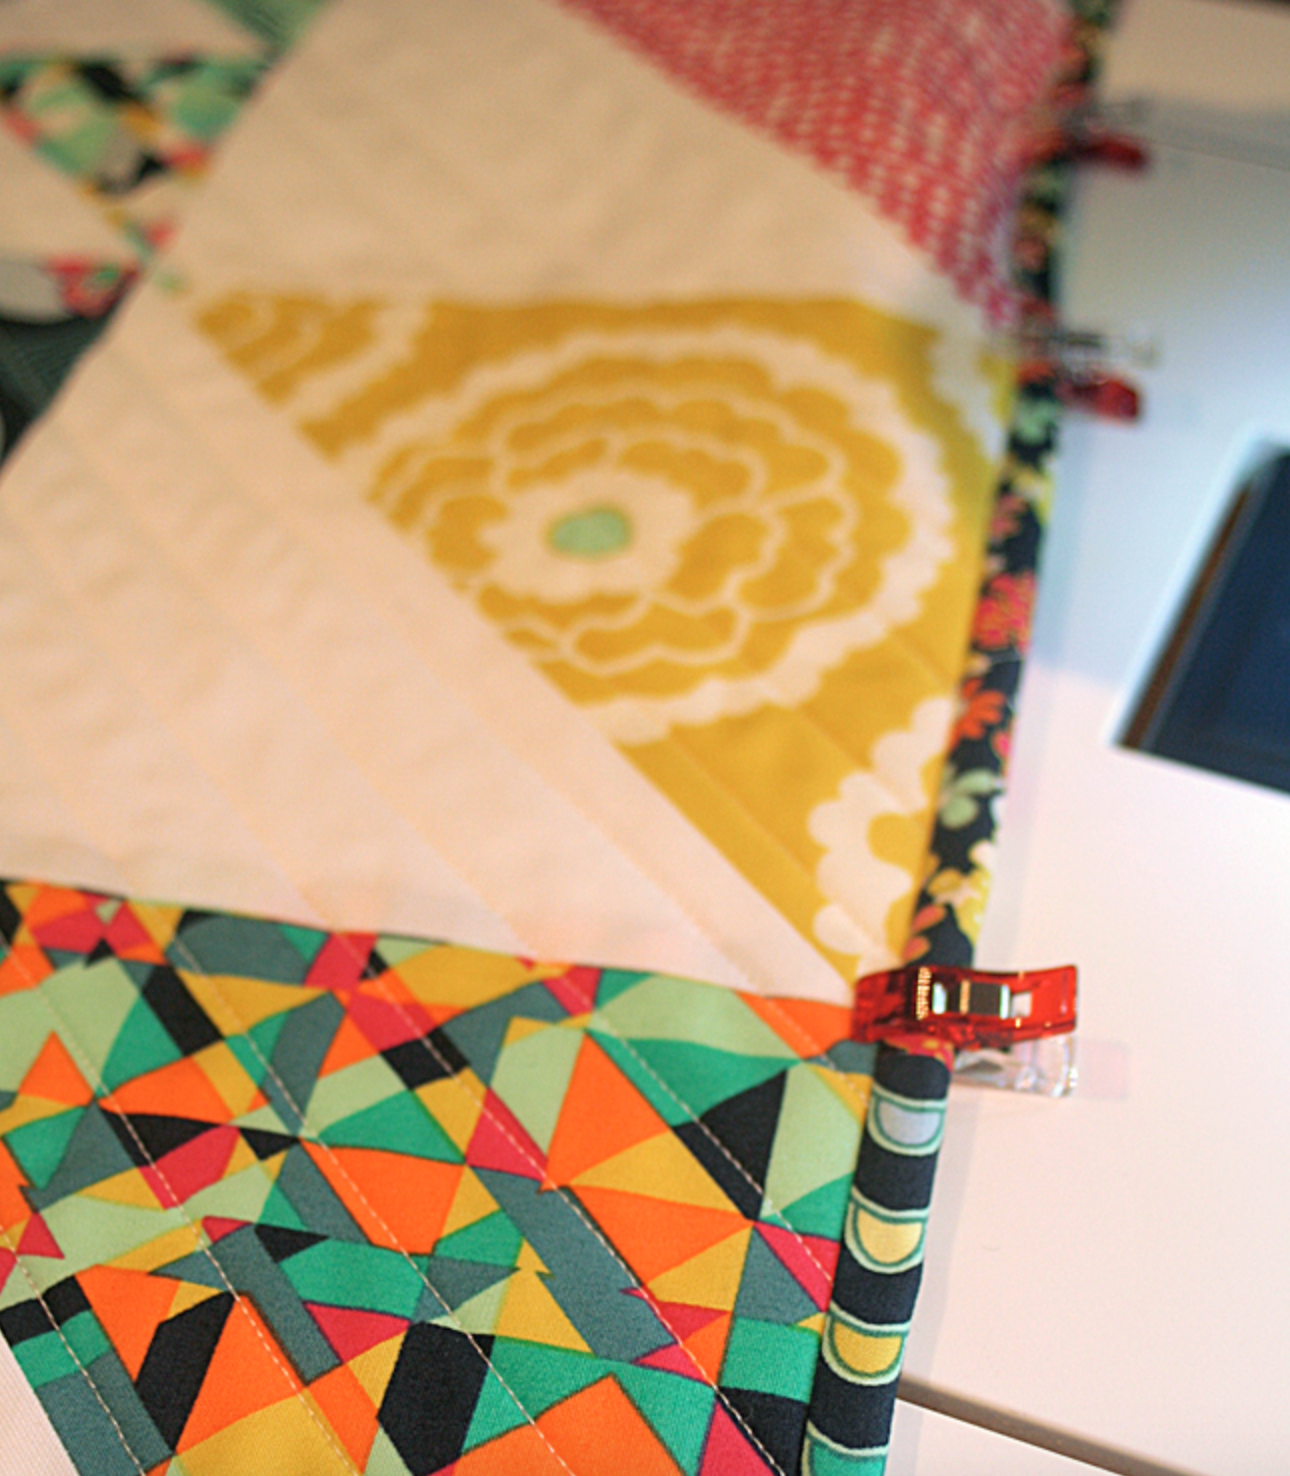
10. Layer the pillow top with the batting piece and muslin backing. Quilt the top however you would like—I quilted in straight diagonal lines.

11. To make the pillow back, take the two pillow back pieces (12" x 24 1/2" and 18" x 24 1/2"). On each piece, fold one of the 24 1/2" edges down 1/2" and press. Fold down 1/2" again and press. Sew the hem 3/8" from the folded edge.

12. To make the pillow trim, cut 2 1/2" wide strips of scrap fabric. Sew the strips together end-to-end until the strip measures about 120" long. Press the entire strip in half lengthwise, as shown.

13. To sew the pillow together, place the quilted pillow top with the wrong side facing up. Lay the first pillow back piece onto the quilted top, aligned with the bottom edge. Lay the second pillow back piece onto the quilted top, aligned with the top edge. Pin in a few spots around the edges. (Yes, this pillow is assembled right side out and will not need turning—the pillow trim we'll add in the next step will enclose the seam allowances.)

14. Now flip the whole thing over and add the pillow trim you made in step 12. This step is done exactly like quilt binding—lay out the binding around the perimeter of the pillow top, mitering the corners. Remove the pins you added in the previous step and repin everything (pillow trim, pillow cover, and pillow back pieces). Sew around the perimeter of the pillow using your favorite quilt-binding method.
15. Fold the binding around to the back of the pillow, just as you would do with quilt binding, and stitch down onto the back of the pillow using your favorite machine-binding method.
Here's a great machine-binding tutorial by Allison of Cluck Cluck Sew. You can also hand-stitch the trim to the back of the pillow if you prefer.

Now just insert your pillow form and you're ready to enjoy this jumbo-size pillow! It finishes at 24" square (and requires a 24" pillow form).