
Cork board makeover

Welcome to my stop on the Girl Friday Sews Blog Hop! Thank you, Heidi, for having me on the hop!
My office/studio is a cluttered mess. I've more or less given up on significant improvements any time soon, but if I can tackle just one messy area at a time and make it look a tiny bit prettier, then at least I feel like I'm doing something. So this week's project was this sad, boring, institutional-looking cork board.
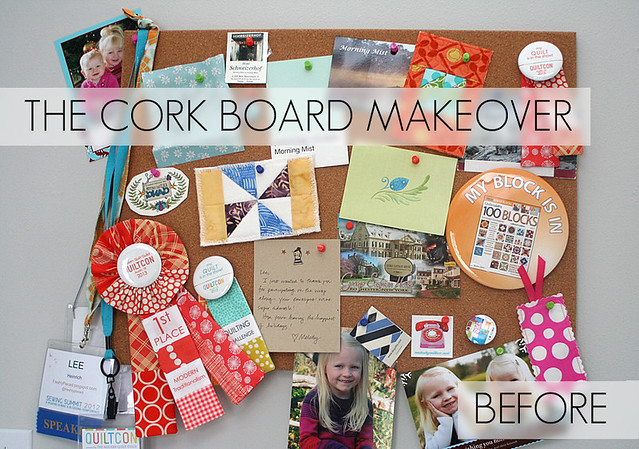
I love everything that's on this cork board: There are postcards and notes from sewing friends near and far, lanyards from events I've attended, of course my QuiltCon ribbons, and let's not forget pictures of my sweet girls. But it's still kind of a cluttered chaotic mess. Surely there must be a way to make a display like this look a little neater and more refined?
Silly rabbit, it just needed some fabric. Of course.
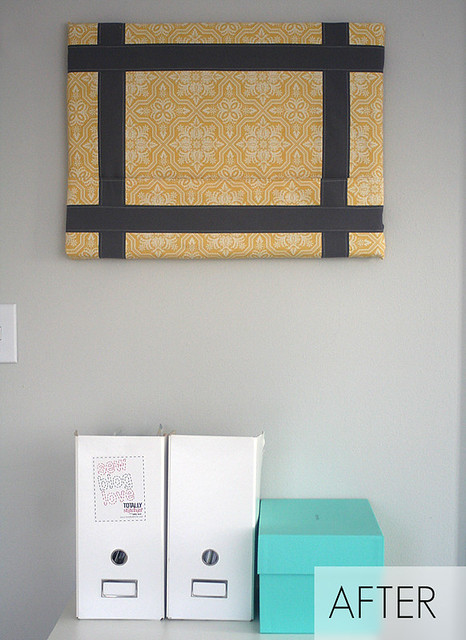
So today I'm going to show you how to use a plain, unattractive cork board to make something more luxurious and worthy of your own mementos. I also added a pocket along the bottom to hold those pesky items that you can't stick a pin through.
You will need:
- a cork board (obviously)
- about 1 yard of fabric (depending on the size of your cork board)
- 2.5" strips of contrasting fabric for the trim
- a piece of batting about the size of the cork board
- heavy-duty stapler and staples
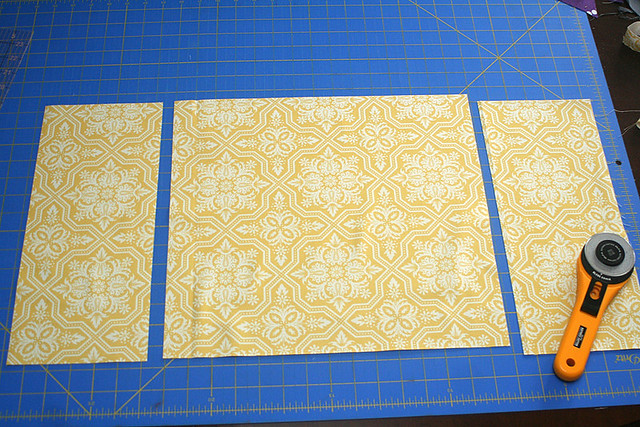
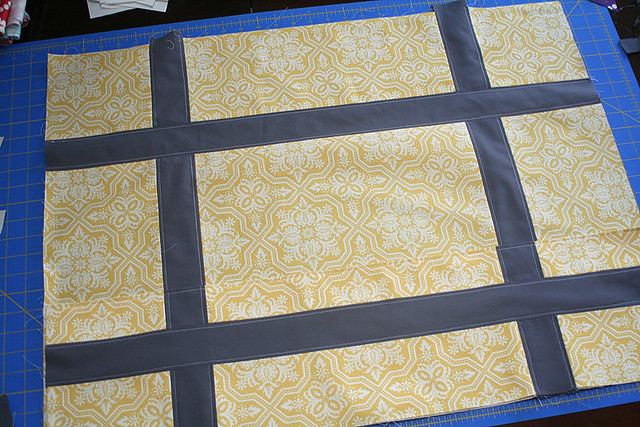
1. Start by cutting a piece of fabric that is about 2" larger than the cork board on all four sides. My board was 17" x 23," so I cut my fabric to 21" x 27".
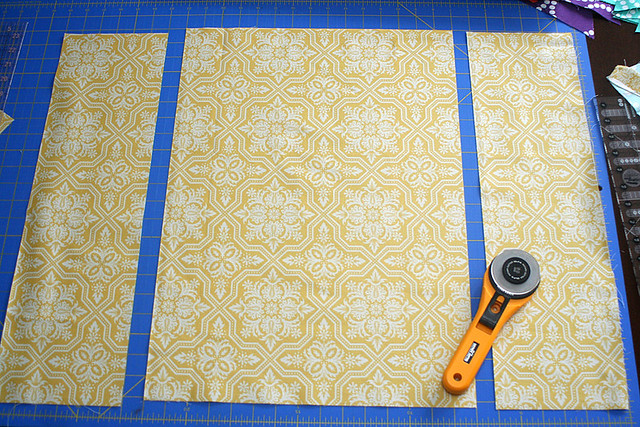
2. Measure about 6" in from each side (short) edge of your fabric and make a cut, as shown.

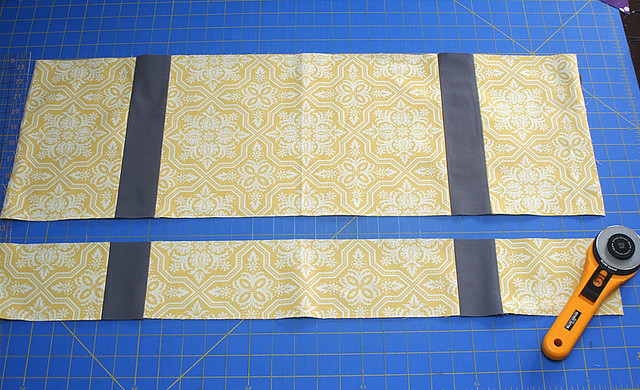
3. Piece 2.5" wide strips of your contrasting fabric into the cuts you just made. Press seams open.
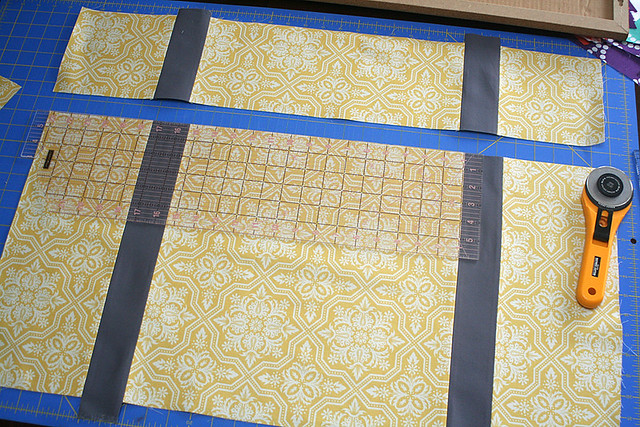
4. Now measure about 5" down from the top (long) edge of the fabric and make another cut.

5. Piece another 2.5" strip of contrasting trim into this cut.
6. To make the pocket, cut another piece of fabric that is double the height of what you want your finished pocket to be, plus 2." This piece should have the same width as the first piece you cut, in step 1. I wanted my finished pocket to be 6" high, so I cut my pocket piece to 14" (6" x 2 + 2") by 27."
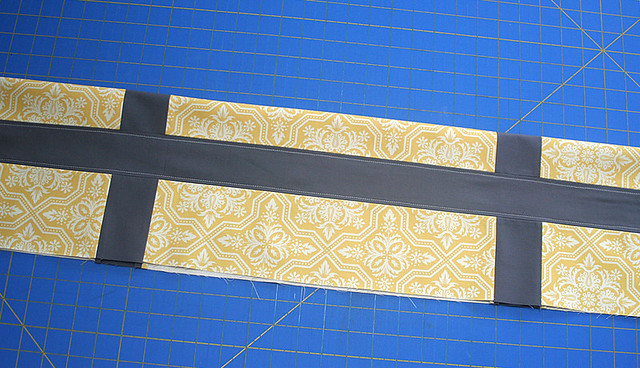
7. Repeat steps 2-6 to add the contrasting trim on the pocket piece. Measure 6" in from each side edge, cut, and piece in the contrasting fabric.
8. Measure up 4" from the bottom (long) edge, make another cut, and piece in the contrasting fabric.
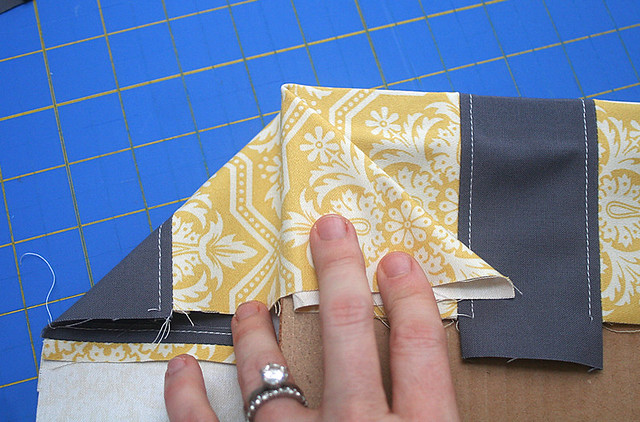
9. Fold the pocket piece in half lengthwise, so that the contrasting trim strip stays about 4" from the bottom unfolded edge, as shown. Press.
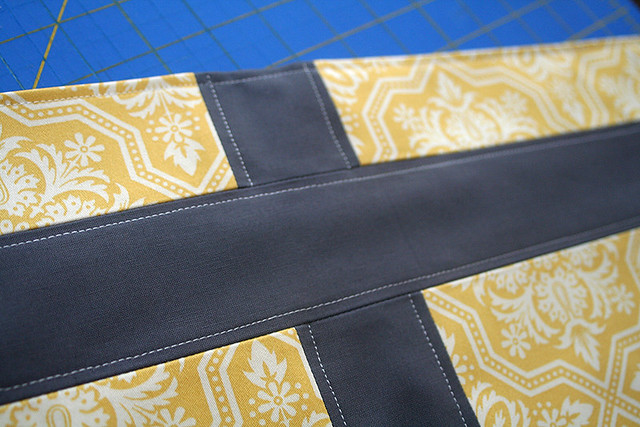
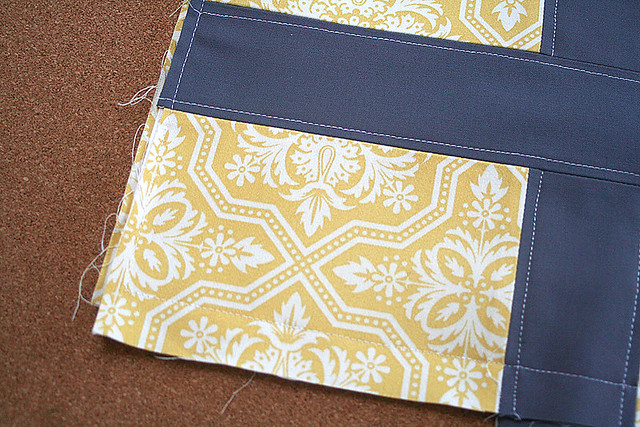
10. I added some decorative top stitching along the top folded edge of the pocket piece, as well as along the edges of the contrasting trim pieces, on both the pocket and the piece for the main board.
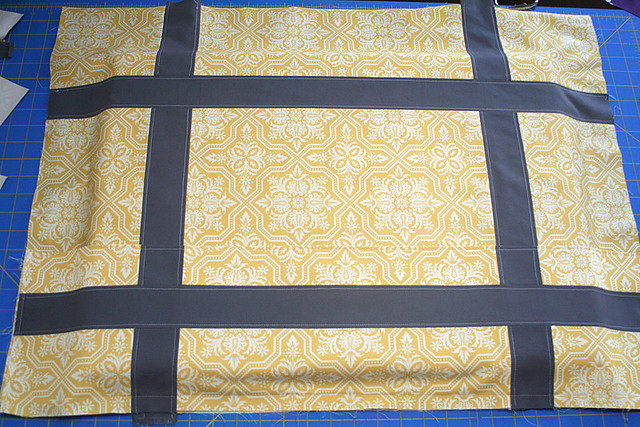
11. Lay the finished pocket piece on top of the main board cover, wrong side of the pocket facing the right side of the board cover. You don't need to worry too much about the pocket lining up with the main board piece—my primary concern was lining up the contrasting trim pieces. I used my Wonder Clips to attach the pocket to the main board cover.
12. Sew around all three edges of the pocket piece to attach it to the main board cover. Stitch about 1/4" to 1/2" from the edges. Don't worry about what these seams look like—they'll be hidden when you wrap the fabric around the edges of the board in the final step. All you're doing here is just attaching the pocket to the main board cover.
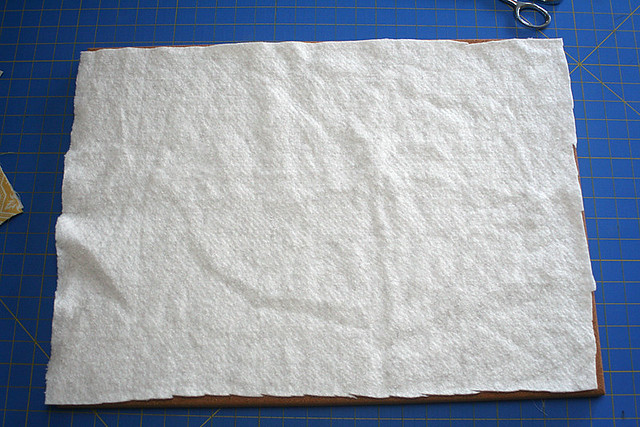
13. Now you're ready to attach the fabric to the board. To give it a bit more of an upholstered look, I laid a piece of scrap batting on the cork board, attaching it with a bit of spray baste.
14. Then I spread the fabric board cover over the top of the cork board and batting, carefully centering the trim pieces.

15. Flip the board over, draw the fabric around the edges of the board, and staple it into place on the back of the board.
At the corners, fold the fabric in toward the board in order to create nicely mitered corners.
That's it! You've now got a much prettier memo board for all your collections, reminders, or whatnot. The pocket is handy for bulky items like my Michael Miller Cotton Couture Color Card. And this one small change really has made a big difference in the look of my office. I should have done it a long time ago—thank you, Heidi, for motivating me to tackle it at last!
Keep following the Girl Friday Sews Blog Hop for more ways to spiff up your workplace. Have a wonderful weekend!