
Quilting 101: Cutting equilateral triangles
Equilateral triangles (triangles where all three sides are the same length) are a design staple of both the traditional and modern quilting worlds. And it’s easier than you think to use equilateral triangles in your quilts! No, they’re not as cut-and-dried as, say, the half-square triangle. But with a little knowledge about the skills involved, triangles are simple to pull off, and can add a whole new design dimension to your quilting!
So today I’m starting a three-part series of posts on the basics equilateral triangles in quilting! In this series of posts, we’ll cover:
• cutting equilateral triangles from fabric
• piecing equilateral triangles
• designing quilts and other projects from equilateral triangles
• and much more.

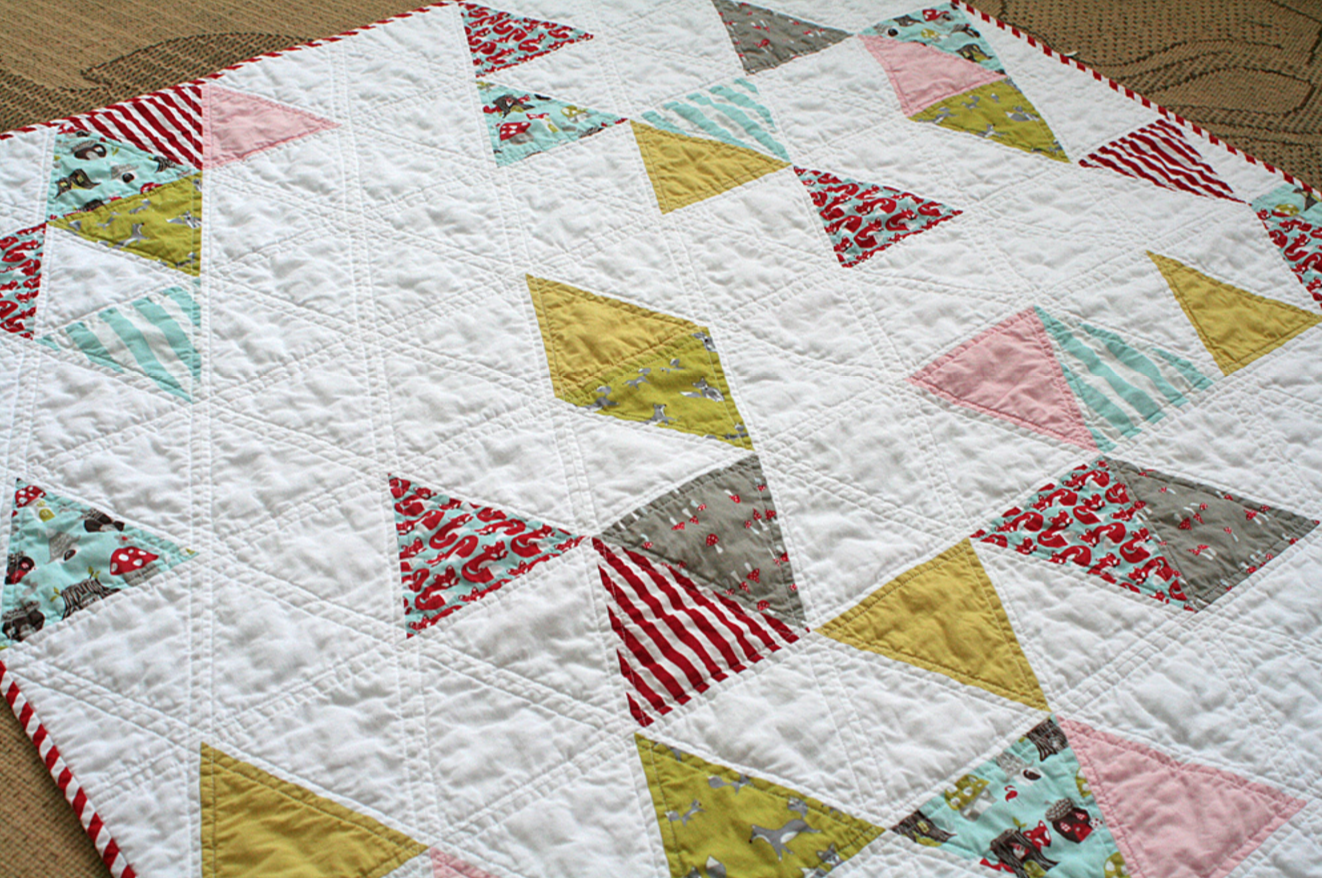
Photo courtesy of Vanessa Christenson
The design possibilities with triangles are endless—at its most basic, you’ll often see them as a “Thousand Pyramids” type design, as shown above in quilts by Vanessa Christenson. Making a quilt entirely from triangles is a quick and fun way to a beautiful design that transcends “traditional” or “modern.” There are more creative design options with triangles as well, which I’ll cover in my third post in this series.
But first, let’s master the basics! In today’s post, let’s talk about how to cut equilateral triangles.

As always with quilting, accurate piecing starts with precise cutting! There are several ways to cut perfect 60-degree equilateral triangles.
Specialty Rulers
If you’re looking for ease of cutting and accuracy without spending too much money, specialty rulers are where it’s at. 😊 A 60-degree triangle ruler gives you a versatile, classic shape with minimum effort, saving you time (not to mention headaches when you start piecing). The Creative Grids 60-Degree Triangle ruler is one of my favorite specialty rulers, and it’s available in several sizes. (When choosing a size, keep in mind that you can cut triangles that are smaller than your ruler size, but you can’t cut anything larger, so err on the side of too large!)
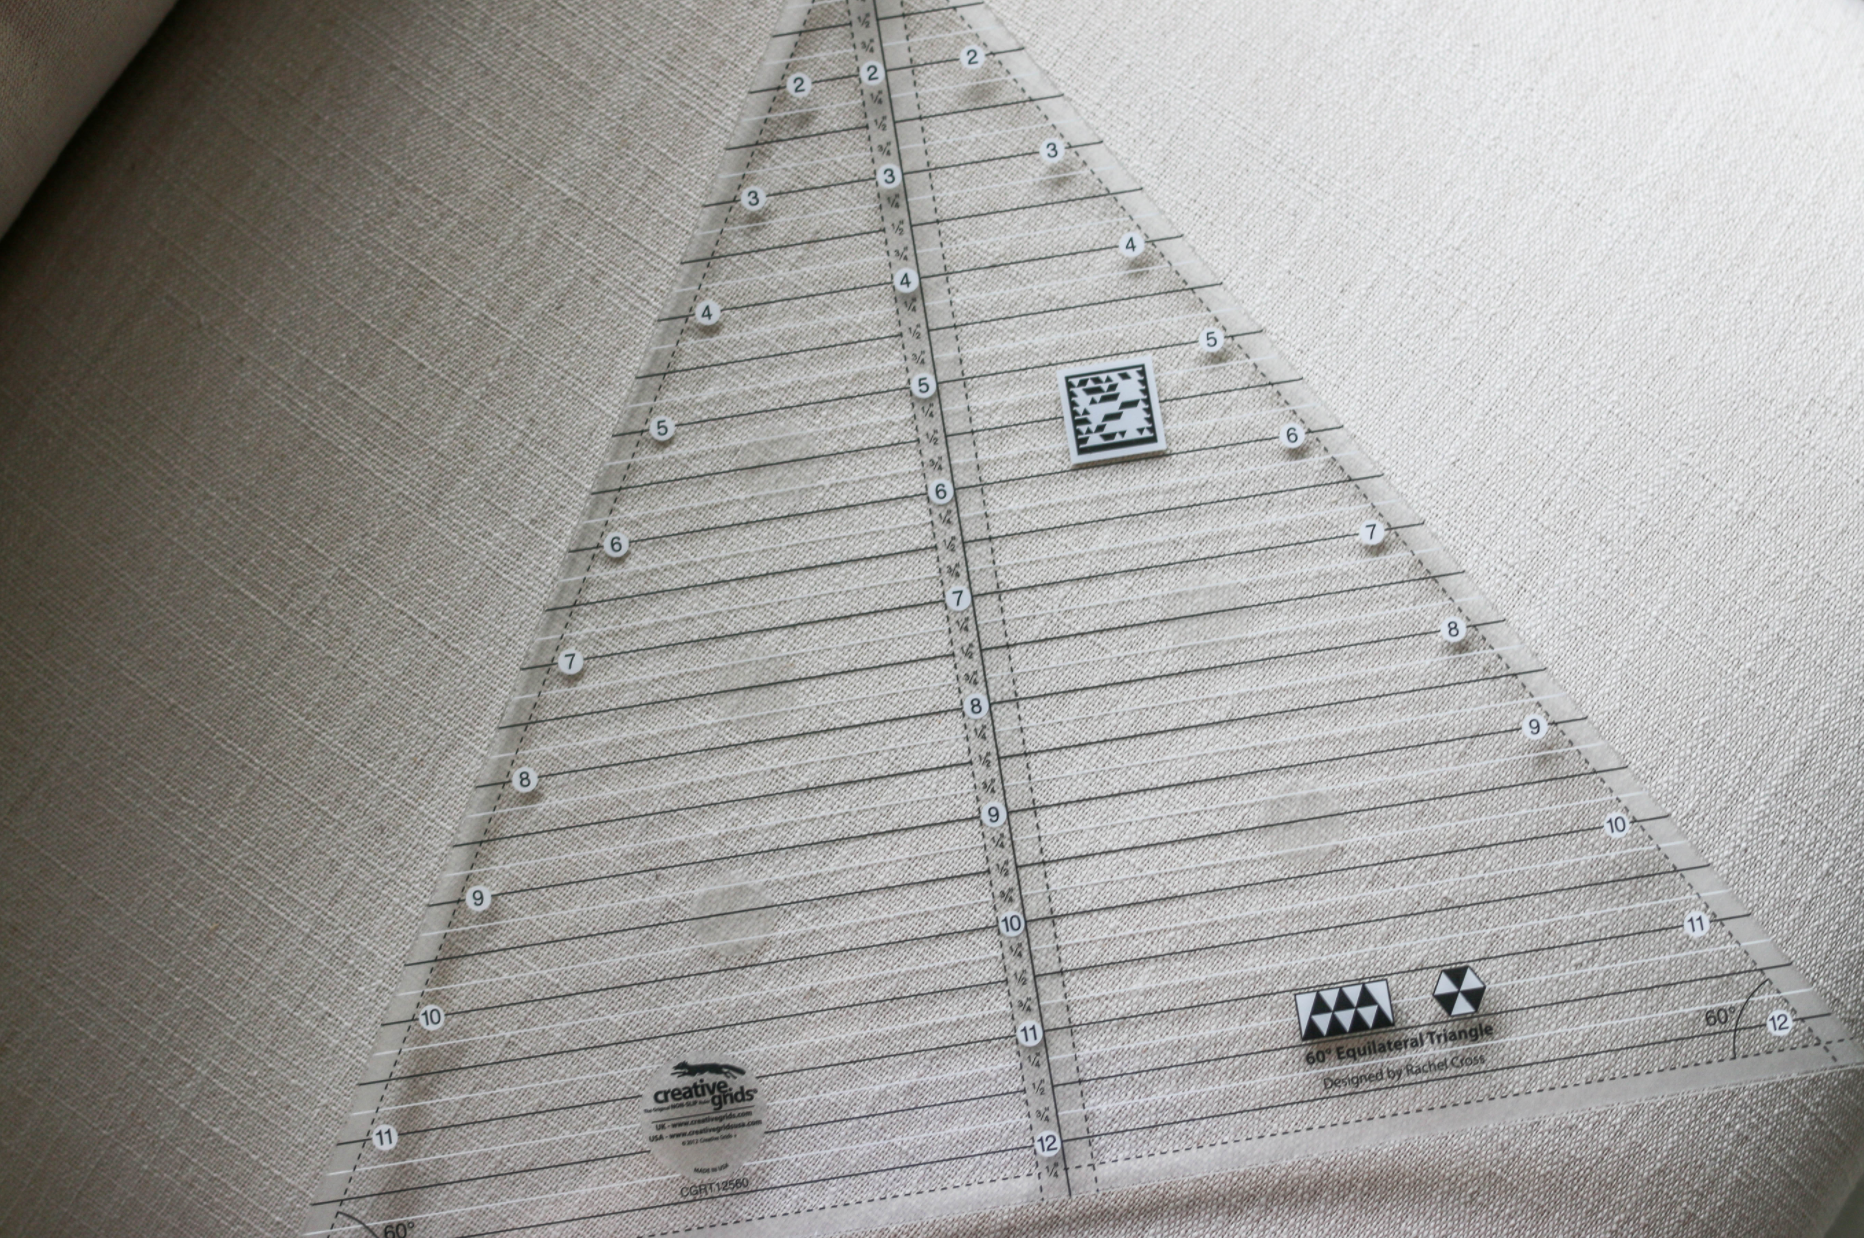
To use a specialty ruler like these, cut strips of fabric that are the height of your unfinished triangles. So, if you want triangles that are 5-1/2” tall before they are sewn into the quilt, cut strips of fabric 5-1/2” wide. Then line up the top of the triangle ruler with one of the long edges of the strip, and cut along each angled side of the ruler. Next, flip the ruler upside down and cut another—and so on, down the strip.
Another benefit of rulers: When used correctly, they give you a notch at the top of your triangles that help you line them up for perfect piecing. No guess work!
Die Cutters
Fabric die cutters are amazing for specialty shapes like triangles. Accuquilt makes a 4-1/2” equilateral triangle die for it’s Go and Go Baby die cutters (click here for the Accuquilt die). Sizzix has an equilateral triangle die as well. Die cutting systems are a bit of an investment—the Accuquilt Go is about $400 on Amazon—but if you already have one of these systems, a triangle die is a no-brainer.
A Regular Ol’ Quilting Ruler
No, you don’t need to have any special tools or rulers for cutting equilateral triangles! You can also use any standard quilting ruler that has a 60-degree angle marking. Here’s how:
1. As with the specialty rulers, cut strips of fabric the height of your unfinished triangles. So, if you want triangles 5-1/2” tall triangles, cut strips of fabric 5-1/2” wide.

2. Line up the 60-degree angle on your quilting ruler with the bottom of the fabric strip. You can see my ruler line in white along the bottom of the fabric strip in the photo above. (This line is often labeled as both 30 degrees and 60 degrees, as it can be used to cut both angles.)
Make your first cut on an angle, right along the edge of the ruler.

3. One more cut to complete your triangle! Many quilting rulers have two 60-degree lines—one going in each direction. If you have two 60-degree lines, switch to the other line to cut the other edge of the triangle. My ruler, however, only has one 60-degree line. If that’s the case for you, simply flip your ruler over, as shown in this photo.
Line up the 60-degree marking with the top of the fabric strip this time, and adjust your ruler so that the cut will make a precise point at the top.

That’s it! Perfect 60-degree triangles using only the tools you already have on hand.
The drawback to this cutting method is that you will not get the 1/4” notches at the tips of the triangles, which are helpful when sewing together the triangles later. But in Part 2 of my triangle series, I’ll share how to accurately piece them so that they line up perfectly, regardless of the cutting method you used. Part 3 will explore the many design possibilities of triangles—stars, hexagons, and other creative takes. Now go cut some up and get sewing!