
My must-have supplies in the sewing studio
I've been in my studio for 6 years, ever since we converted it from our formal living room/kids' playroom (click here and here to see what I wrote about it at the time). Now I've spent the past few months reconfiguring it a little, so how about a little tour of the new space, and details on all the sewing supplies I use and recommend? Read on for some of my favorite things! (Some links below are affiliate links.)
FURNITURE AND DECOR

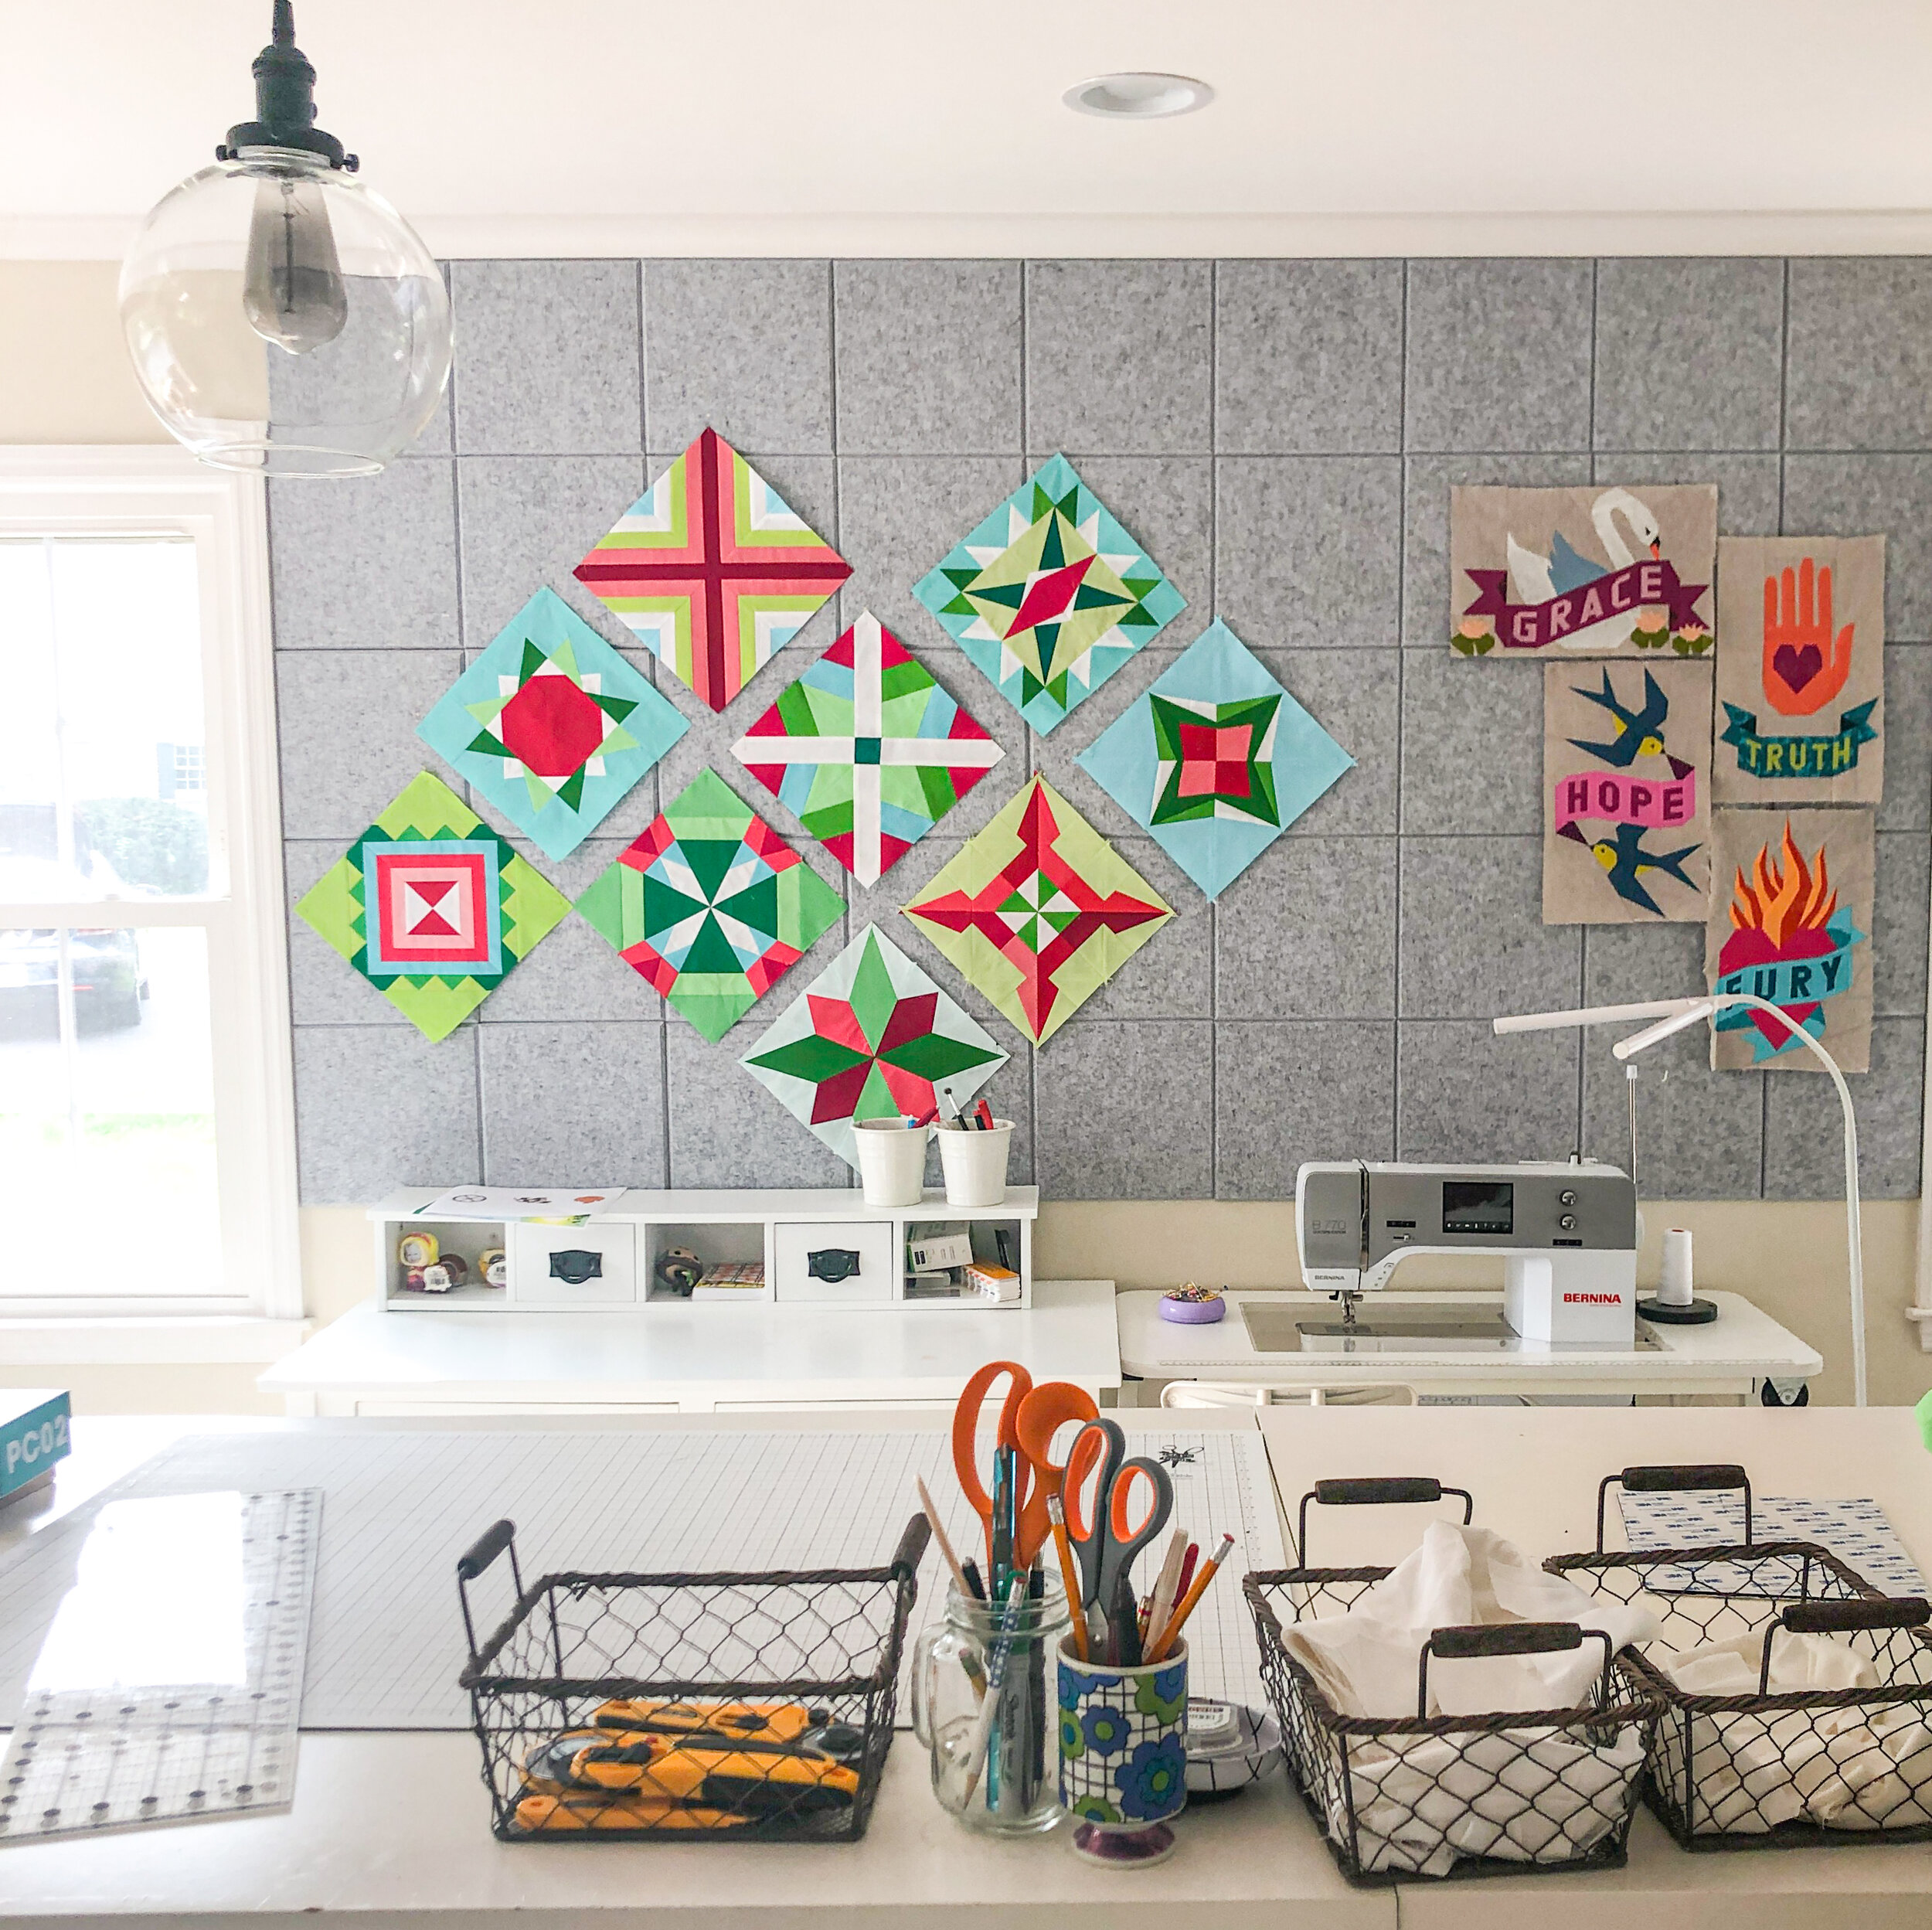
Counter-height cutting tables (click to purchase)
The whole space revolves around these counter-height cutting tables. This is where I cut fabric, collect fabric pulls for my next project, and generally pile things. 😂 I bought my cutting tables (two of them, positioned end-to-end) from Improvements six years ago. Those particular tables are no longer available, but these tables from Amazon look to be very similar. I love the convenient storage cubbies on each end—I use one set of the cubbies for my scrap storage.

Arrow Gidget 2 Sewing Table (click to purchase)
My machine is a Bernina 770QE, on an Arrow Gidget sewing table outfitted with a clear plexiglass custom insert for the drop-in area (see below for link to the insert). With my desk positioned to the left of the sewing table, I have plenty of space to spread out fabric and quilts.

Custom clear plexiglass insert for Gidget 2 Table (click to purchase)
This is what will make the Gidget 2 perfectly fit almost any machine! You enter the make and model of your machine, and they'll cut the insert to fit your set-up, giving you a seamless sewing surface that's level with the bed of your machine.
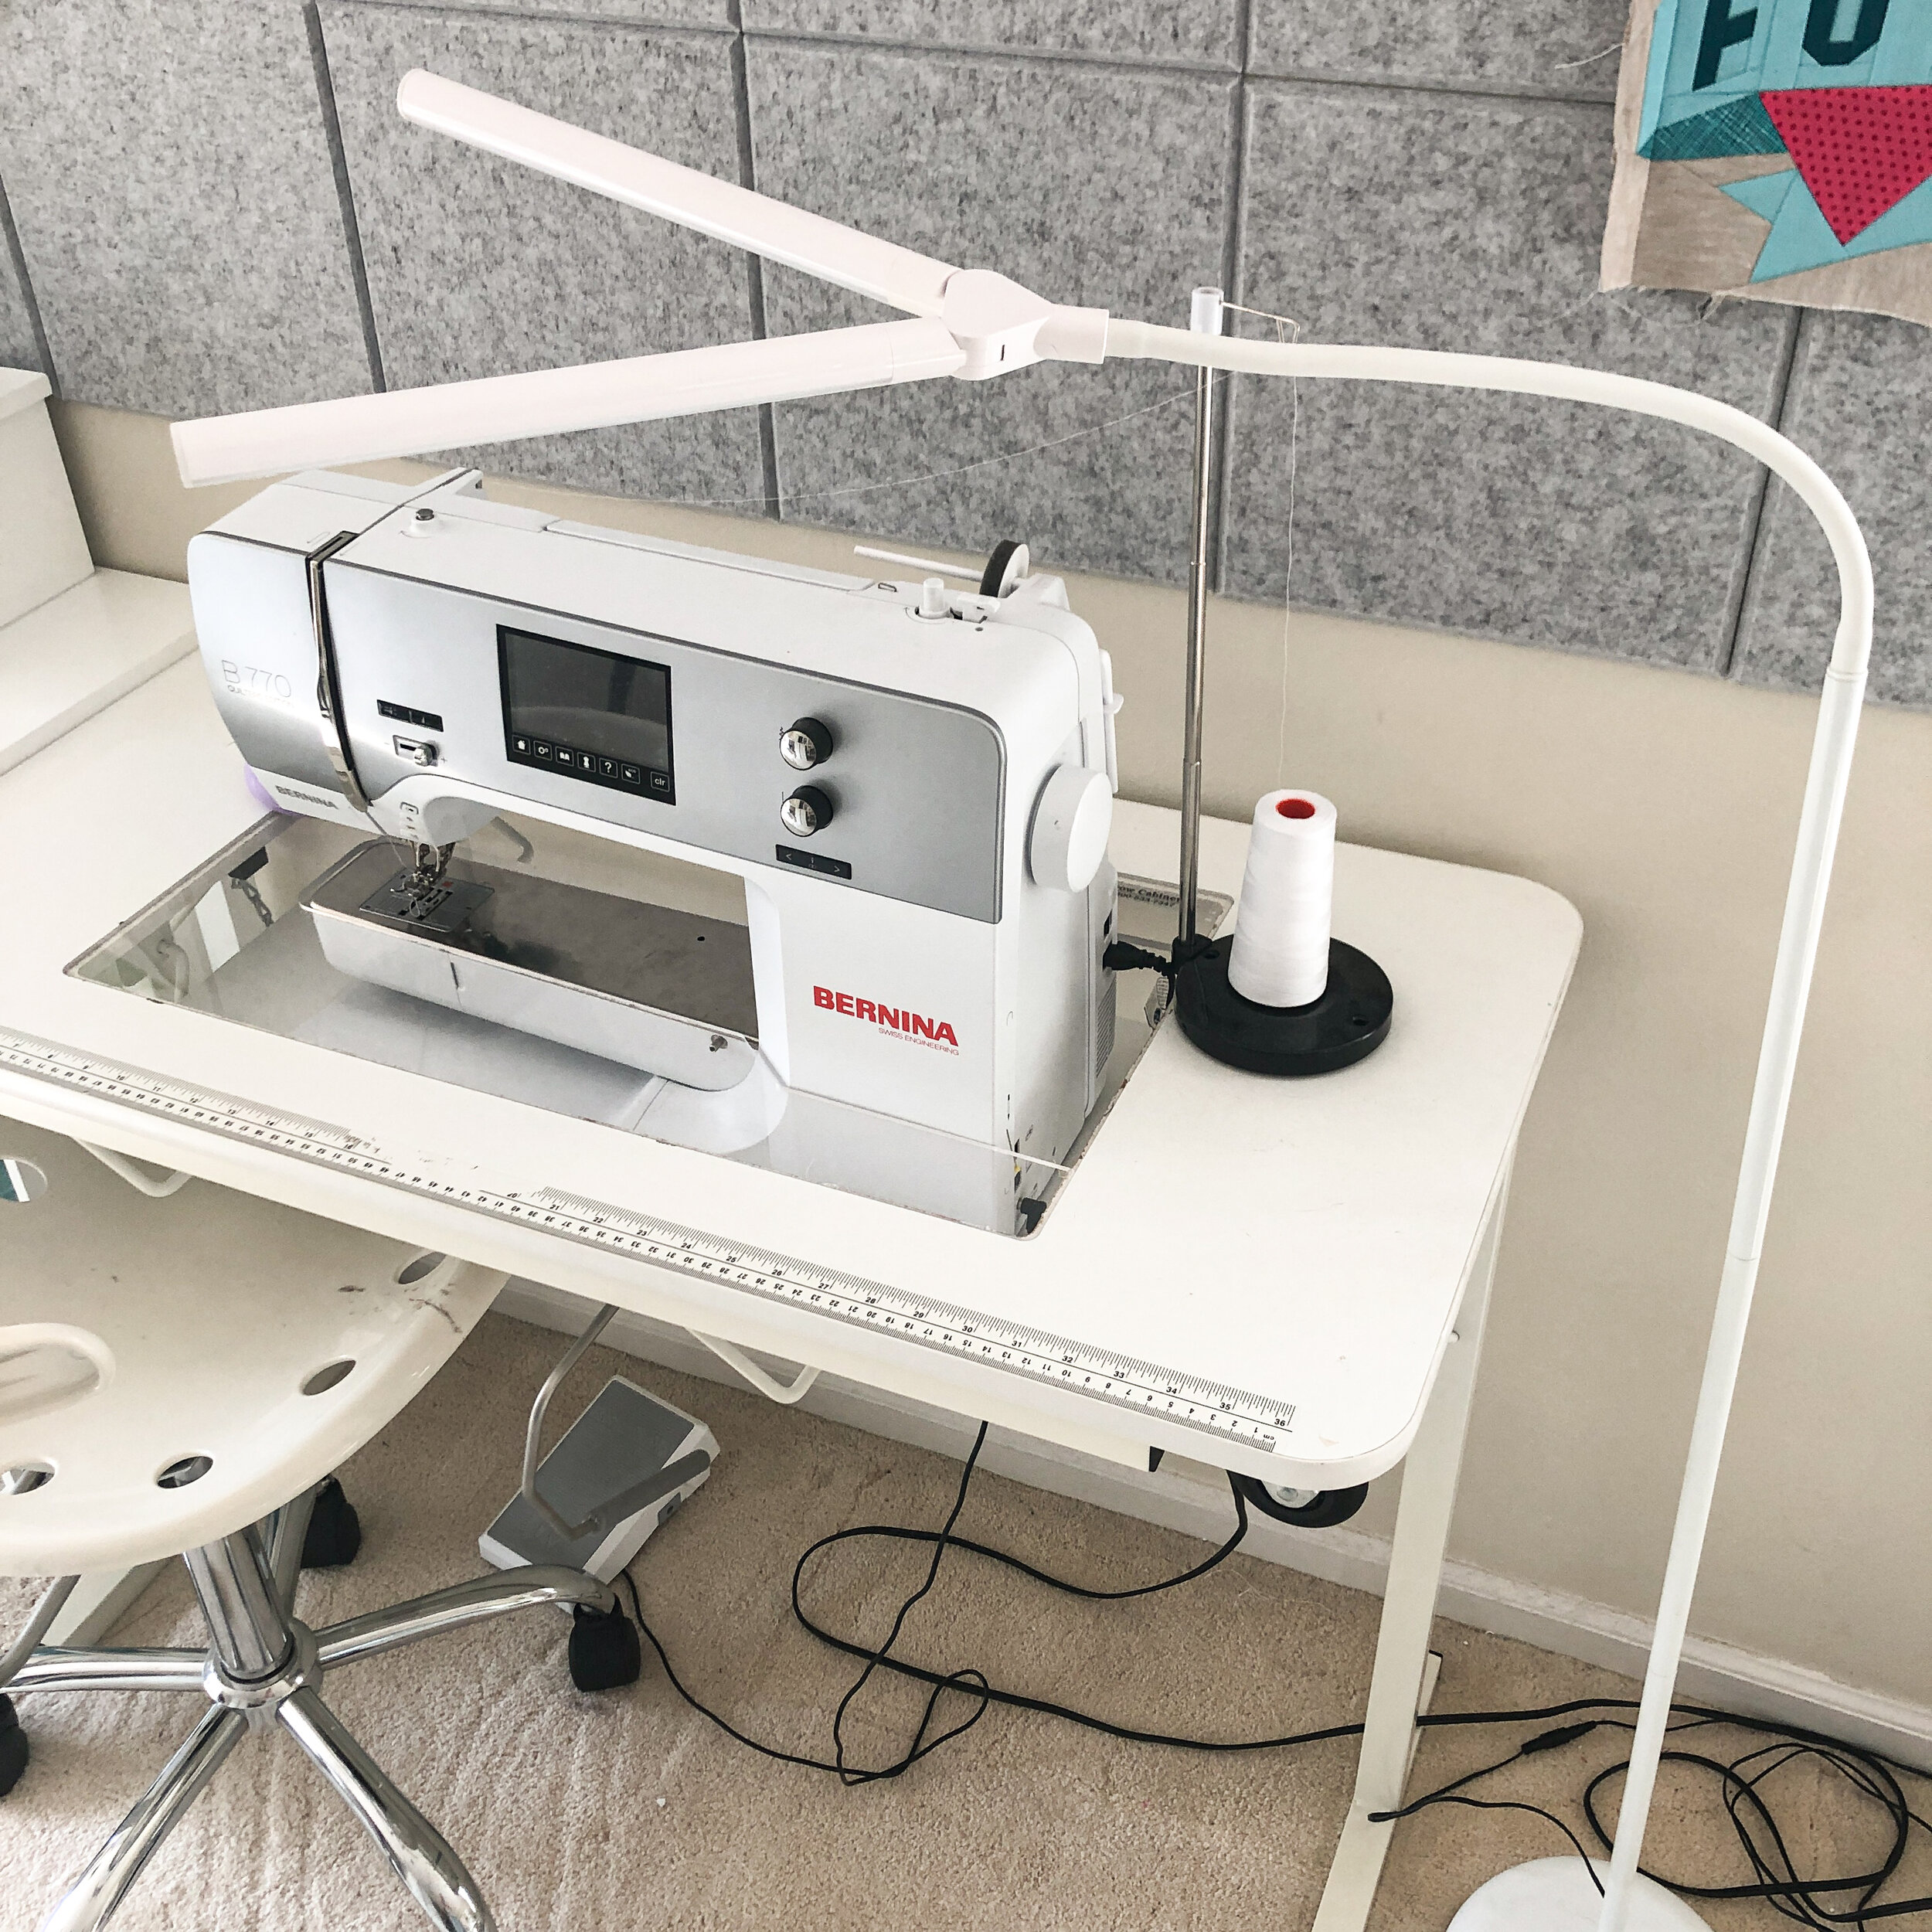
Daylight Company Duo Light (click to purchase)
I love these dual lights, because you can position one in front of your machine and one towards the back, giving you amazing light coverage. I don't know how I sewed before I had this light!
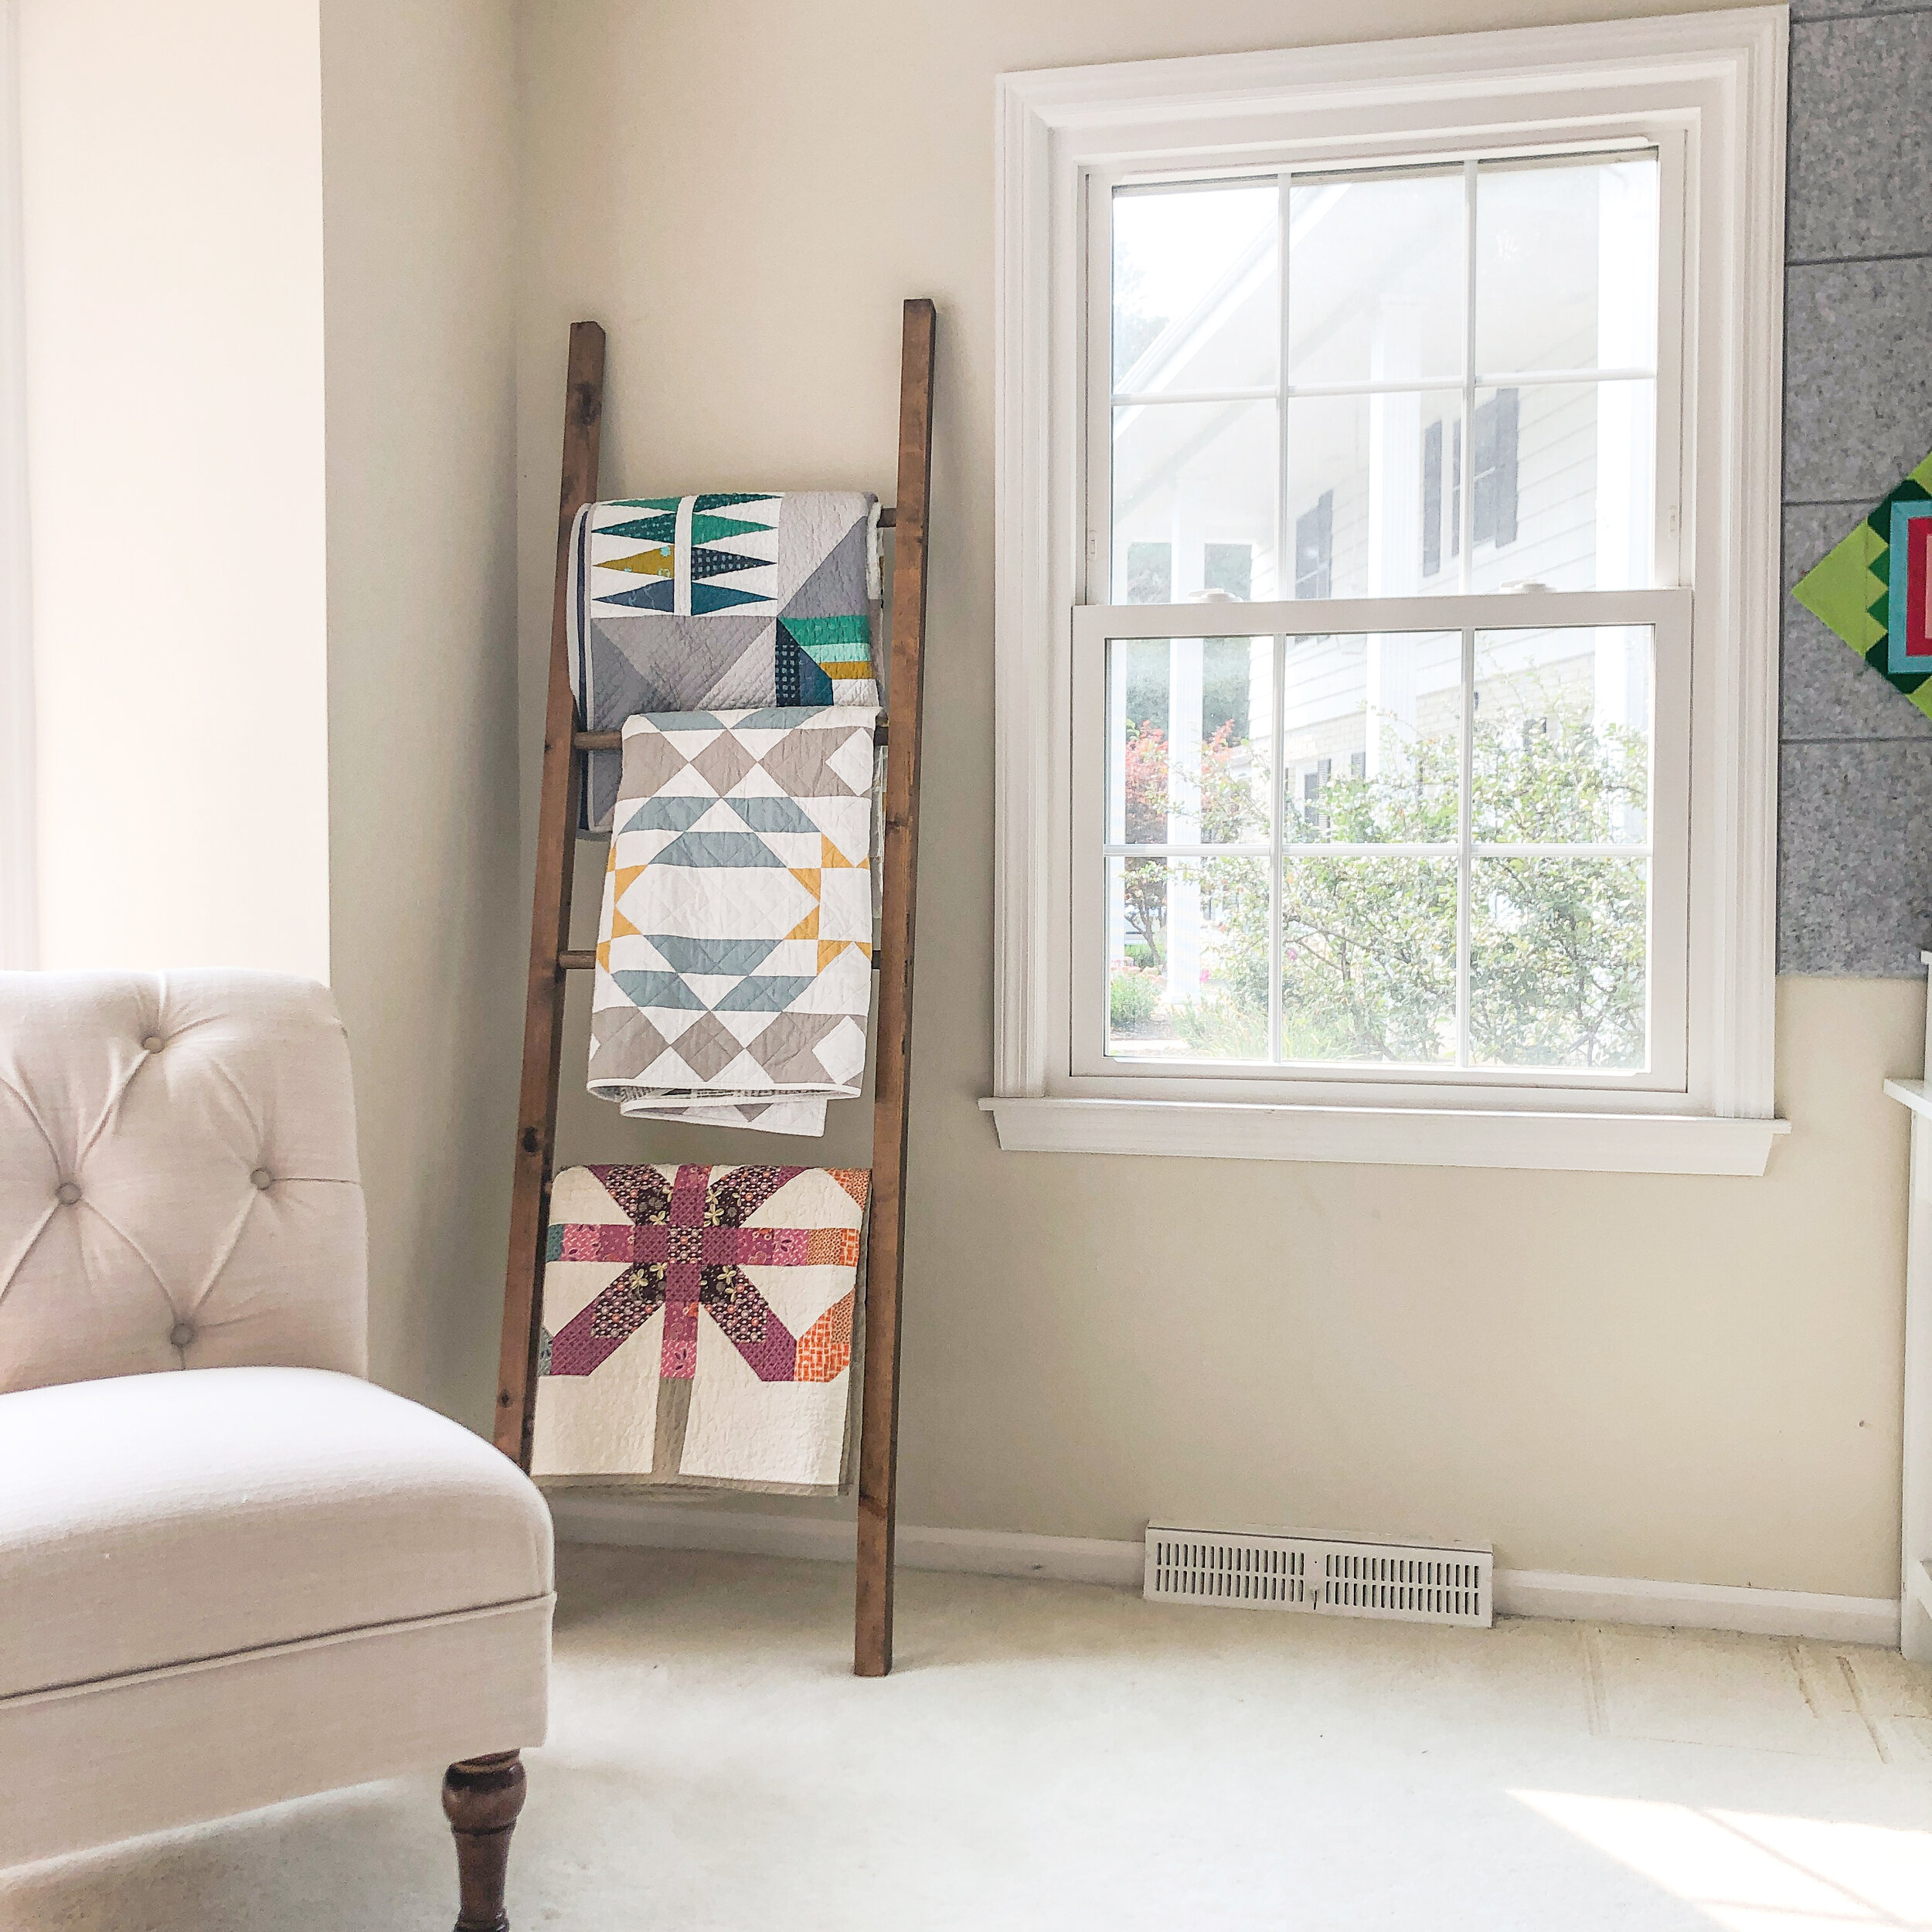
Quilt Ladder (click to purchase)
I got mine on Etsy before the rustic farmhouse look was all the rage and quilt ladders started popping everywhere! But this one on Amazon looks very similar to mine. The key to a great quilt ladder is making sure it's wide enough. Many of them are quite narrow, but I wanted more display space to show off those quilts.
DESIGN WALL
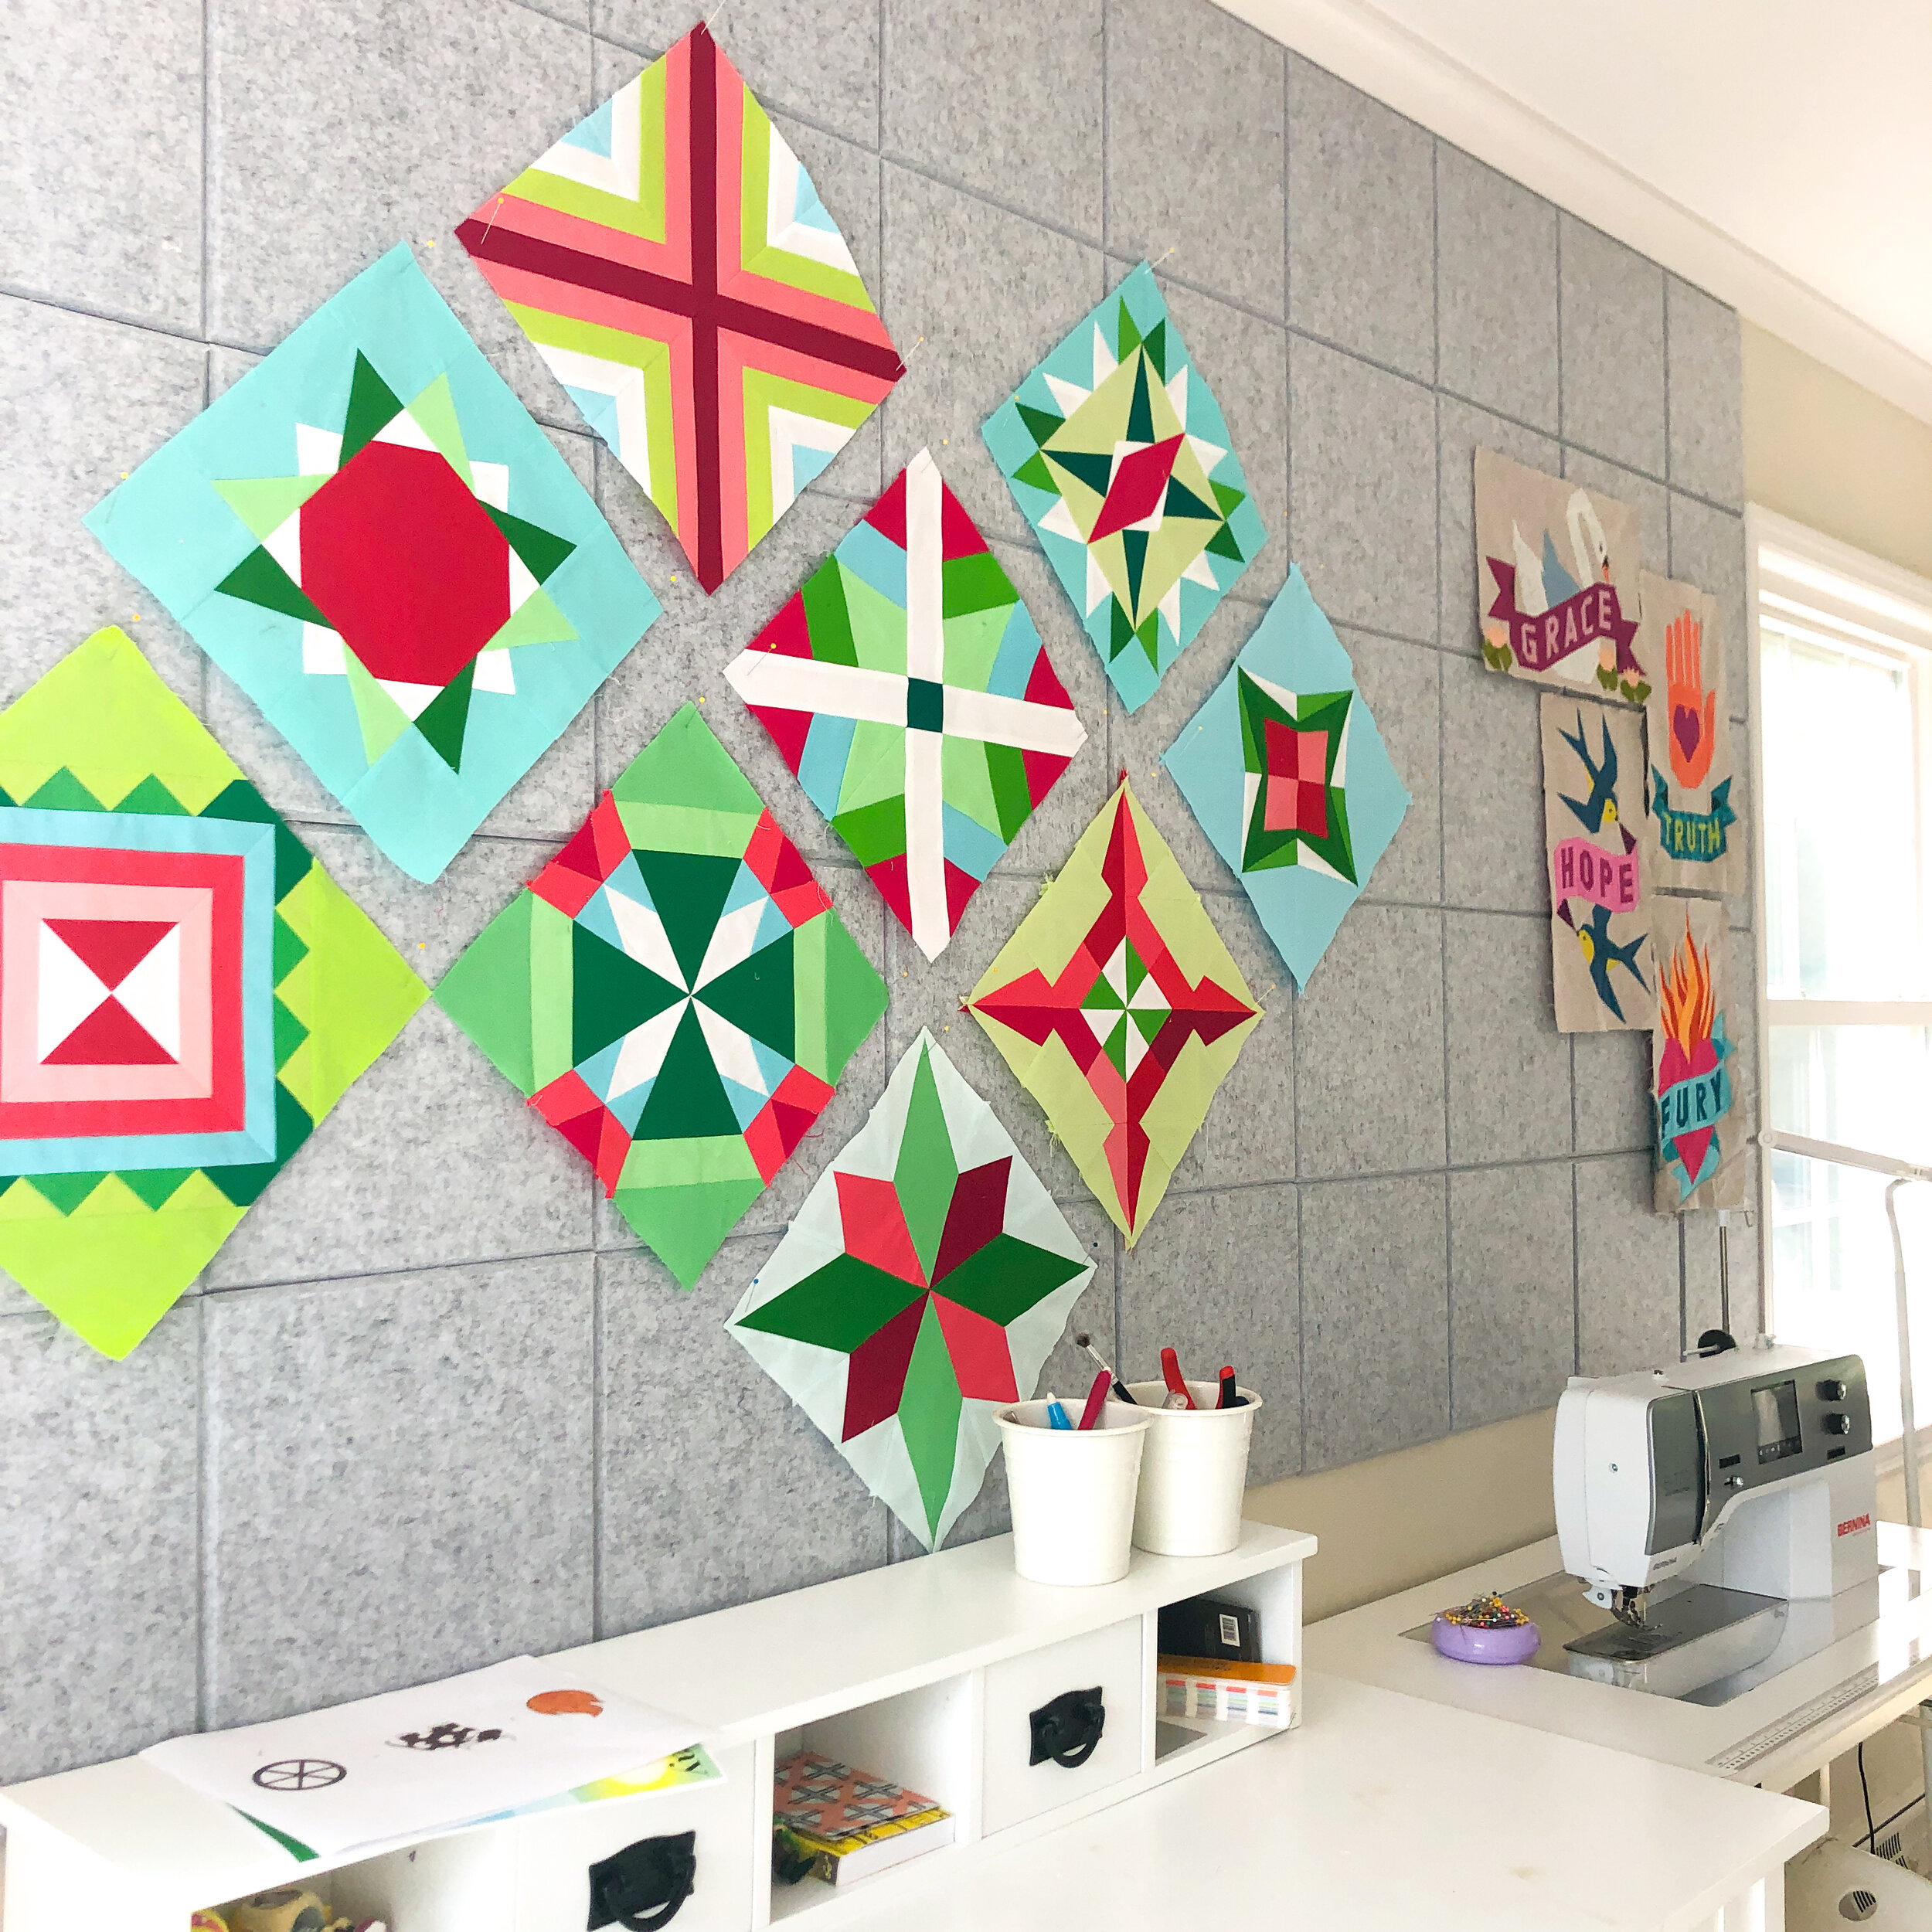
Felt tiles for design wall (click to purchase)
These felt tiles come in a variety of colors, are super easy to install, look great, and can be cut to fit any space (I used my rotary cutter to trim mine to size along the window!). The tiles basically turn your wall into a giant bulletin board. Unfortunately, quilt blocks will not stick to these tiles on their own—you will need to use pins to hold the blocks in place. My tiles are the "Silver Gray" color.
Double-sided tape for attaching the tiles to the wall
I used this tape to stick the felt tiles onto my wall. I tried several other methods of adhering the tiles to the wall, and this is the only thing that has (literally) held up. But I can't vouch for whether it will damage your walls, so use with caution—once you put them up, you may be committed!
FABRIC AND STORAGE

Fabric shelving (click to purchase)
Billy Bookcases from Ikea are perfect for the way I store my fabric because they're shallow and inexpensive! There are also doors you can buy for your Billy Bookcases if needed.
Comic Book Boards for fabric shelving (click to purchase)
These are the key to great-looking fabric storage! I wrap all my fabric (fat-quarter size and above) on these cardboard comic book boards. Then I store the wrapped boards just like books in the bookcases. It's the perfect system to keep my fabric organized and VISIBLE—because when it comes to fabric selection and using your stash, knowing what you have is half the battle!

Robert Kaufman Kona Cotton Solids Color Card (click to purchase)
This is indispensable if you want to order solids online! Kaufman is my favorite brand of solids due to their huuuuuuge range of colors and ready availability (usually ... recently the pandemic has made getting some colors a scramble). You can sometimes get these color cards from your local or online fabric shop, but if they don't have them, Amazon has them as well. I actually always have two color cards on hand: I cut up one card into color chips—the chips are easier to compare to each other to make palettes. The other card stays whole (I find the un-chopped card is easier when you're searching for a certain shade).
QUILTING TOOLS

Creative Grids rulers
Creative Grids are my favorite brand of rulers by far, because they have textured spots that grip the fabric really well. They're a bit more expensive, but worth the investment! So what ruler sizes do you really need? Every quilter might have a different answer to that question, but personally I used my 6.5" x 24.5" and 3.5" x 12.5" the most. Plus of course you’ll want at least one or two square rulers.
• 6.5" x 24.5"
• 12.5" square
• 3.5" x 12.5"
• 6.5" square
• 4.5" square
• A set of square sizes
White cutting mat/reverses to black (click to purchase)
I LOVE my white cutting mat for taking photos, and just for how nice it looks in my studio! Mine is by Christopher Thompson for Riley Blake Designs. Unfortunately my large version (24" x 36") doesn't seem to be available anywhere anymore. But the 18" x 24" version is still around. Hopefully Riley Blake will put this cutting mat back into production! (Edited to add: YES! This mat is coming back! Christopher tells me it should be available in late April or May of 2021, so keep your eyes peeled.)

Olfa Rotary Cutter (click here to purchase)
Well, you almost certainly have one of these already. But if you don't, you need one, obvs! My favorite size and brand is Olfa 45mm, but I have several other sizes as well.
Somolux Rotary Cutter Blades (click here to purchase)
Change your blade early and often! Off-brand rotary cutter blades are soooo much cheaper, but the quality/sharpness can be hit-or-miss. Lately I've been buying these Somolux brand blades—they have always been great!

Ruler rack (click to purchase)
This one sits on my cutting table and keeps them all organized and handy.

Clover Wonder Clips (click to purchase)
These work particularly well for holding binding onto a quilt before you stitch it down, but they have tons of other uses as well. I linked the "real" Clover brand above, but you can also buy off-brand versions for much cheaper right here (though I haven't purchased these, so I can't vouch for the quality).
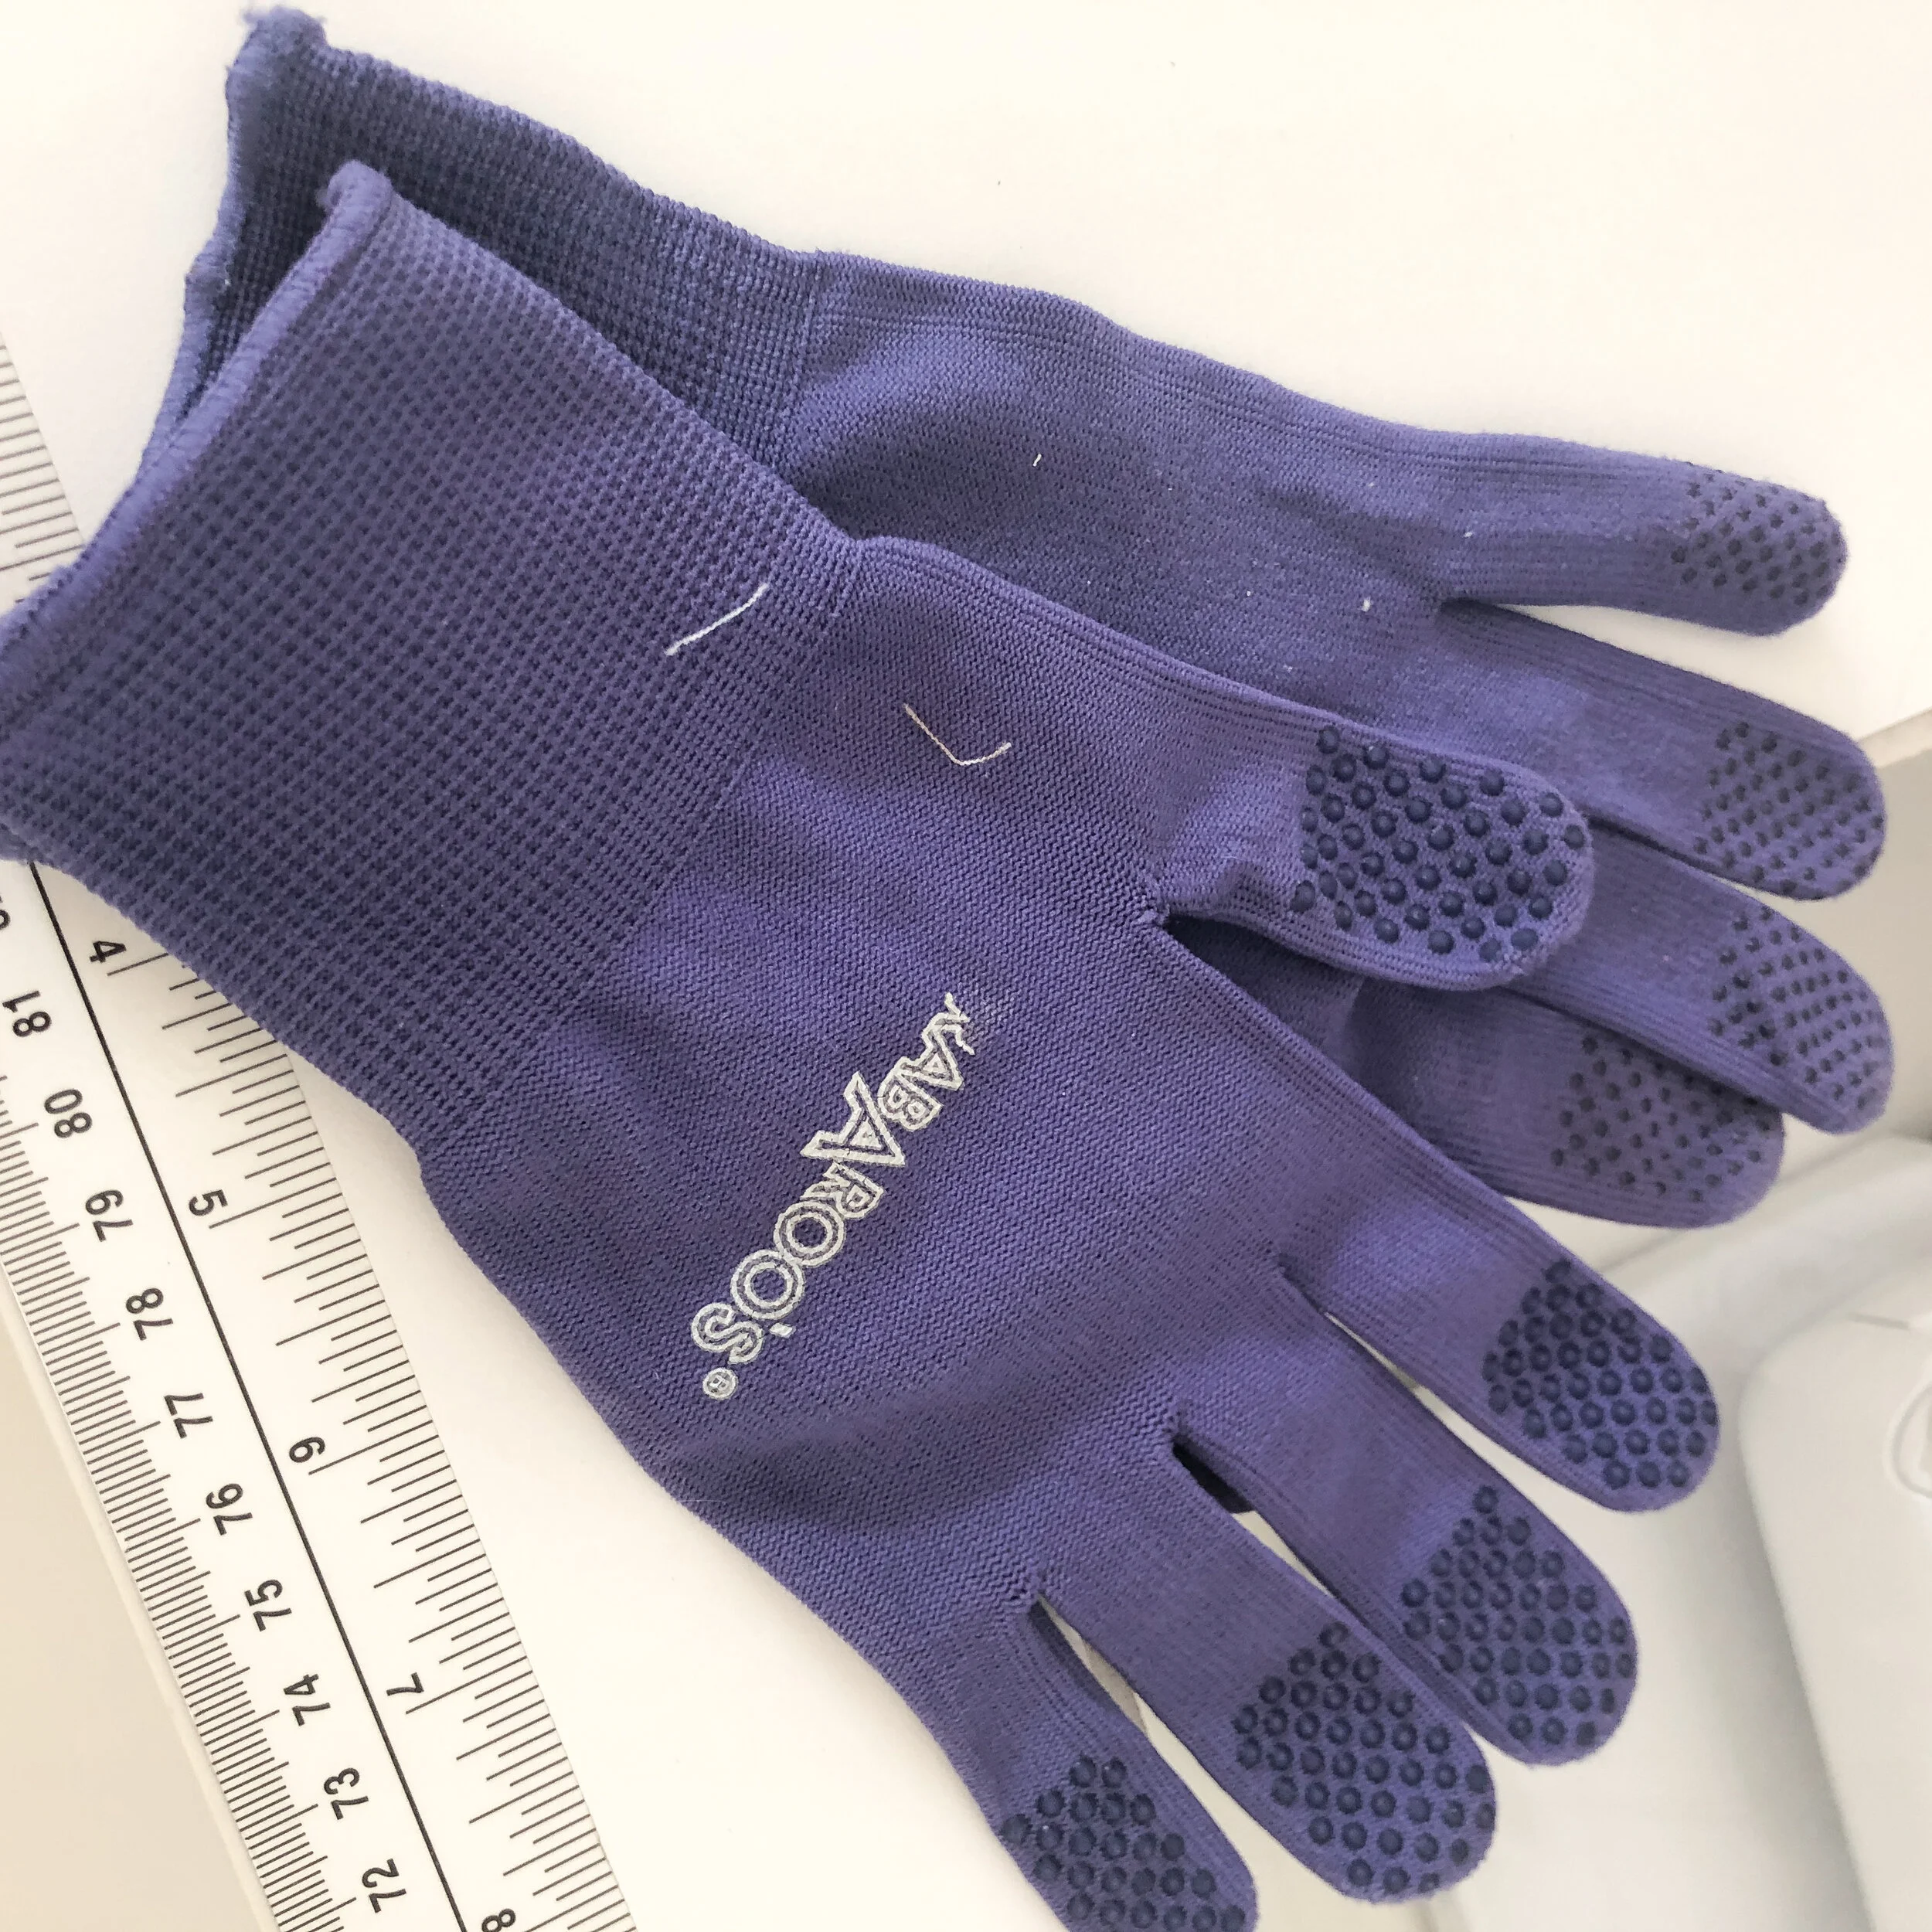
Grabaroos quilting gloves (click to purchase)
I literally cannot quilt without these gloves, whether free-motion or straight lines. They just help me grip the quilt so much better. I even use them when I'm binding. I love this brand because they're made of a super thin material and have the grippy texture on the fingers.
NOTIONS

Aurifil White Thread Cone (click to purchase)
I almost never use any thread color other than white or maybe light gray. So a cone is much more economical than buying lots of smaller spools. Aurifil 50wt cotton thread has always been my preferred brand/type for its relative lack of lint, but I've also struggled with the way the smaller Aurifil spools work with Bernina machines. So the cone solves that issue for me as well.

Thread Cone Holder (click to purchase)
If you're going to use a thread cone, you'll need a cone holder! This is the one I have—it works great with my Bernina, and probably most other machines as well.
PRESSING

Reliable Velocity Iron (click to purchase)
You guys. The iron struggle is real! I went through at least four brands before I got my Reliable—including a very expensive Rowenta, which leaked almost immediately. But for me, my Reliable has been the gold standard of irons. I got it more than four years ago and have not had a single problem with it. The one linked above is a newer version than what I have, but Amazon reviews look to be similarly fantastic.
Brabantia Ironing Board (click to purchase)
I sewed for years on a narrow, wobbly ironing board before I finally got fed up and bought this one. Why didn't I do it years ago? Yes, this board is expensive compared to some ironing boards on the market, but I love love love how wide it is and how very steady it is. When you think about how often quilters press things, it really makes sense to invest in a good, steady board.
Wool pressing mat (click to purchase)
I was getting some shiny spots when I was pressing bulky seams, so I decided to try a wool pressing mat to see if that resolved the issue. It did! I love this mat, even though it does smell a little like a wet dog when I use steam. 😂 Fortunately I haven't noticed the smell transferring to anything I'm pressing!
PHOTOGRAPHY
Light Ring (click to purchase)
These have found fame with YouTubers and Instagrammers who want good light for selfies and videos, but they’re also perfect for lighting quilts straight on, so no shadows! And it does double-duty as my tripod (it works with both phones and DSLRs).
Reflectors (click to purchase)
Light reflectors help with better lit shots.
Thanks for checking out my studio today! Enjoy your own sewing space!