Harlequin Pillow Tutorial
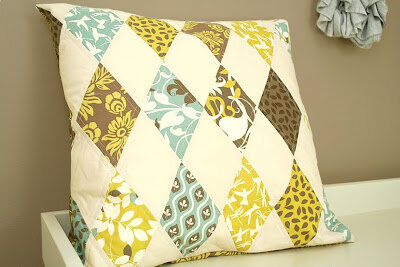 You didn't think I'd miss out on the Accuquilt craze, did you? : )Yes, along with the rest of blogland, I too have spent the last few weeks playing around with an AccuQuilt GO! Baby Fabric Cutter
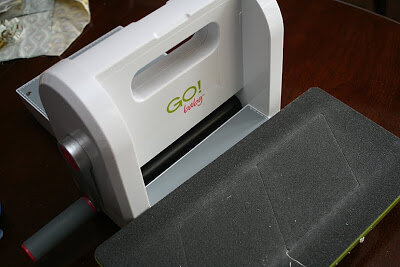 The GO! Baby is a lot smaller, more compact, and lightweight than I expected, and it's amazingly easy to set up and use. I completed a simple four-patch Drunkard's Path block

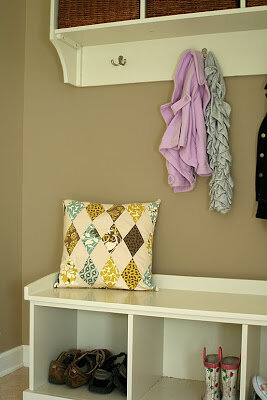 And as busy as I've been this past week, I even managed to complete a project using my GO! Baby—this harlequin pillow for the bench in my mud room. With my GO! Baby, the whole thing took about three hours from start to finish. Here's how to make it:
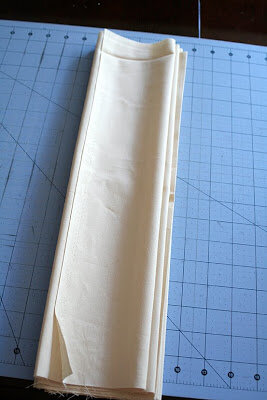 1. For the background diamonds, you'll need a piece of solid fabric at least 18" by 24". (I used a half-yard cut.) Accordian-fold your fabric in 4" sections across the wider side, so that you end up with a folded section at least six layers thick, and measuring about 4" by 18".
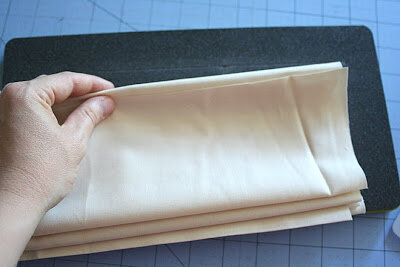 2. Lay your folded fabric across the AccuQuilt GO! 4-inch Diamond die. Make sure your fabric covers the edges of the die. (One tip I just read is to outline the die with a Sharpie so that you can see the edges better.)
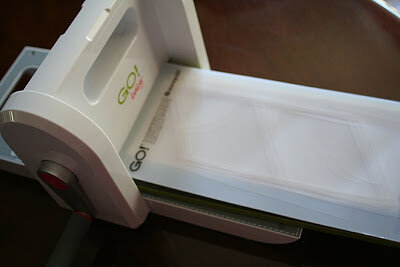 3. Put your cutting mat over the top of the folded fabric and run the whole thing through the cutter. (Make sure your excess fabric is positioned so that it will go through the cutter last.) I was able to run 10 layers through the cutter without a problem. With that many layers, it did take a little arm strength, but no more than I'm accustomed to as a mother who carries around small children!
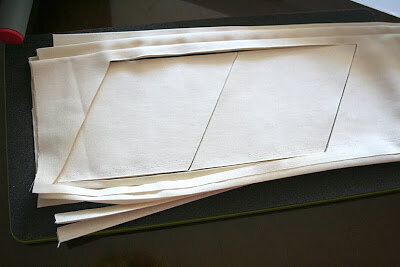 4. Ta da! Diamonds.
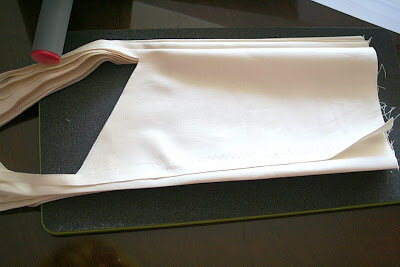 5. Now take your excess fabric and move that into position on the die. The cut edge from the previous set of diamonds matches up perfectly with the edge of the die for cut #2, as shown above. Turn the die around and run it through—again with the excess fabric at the back. With careful planning and positioning, you should be able to get another complete set of diamonds out of this fabric—that's 40 diamonds per half-yard, cut in less than 10 minutes! (You'll only need 24 solid diamonds for this pillow.)
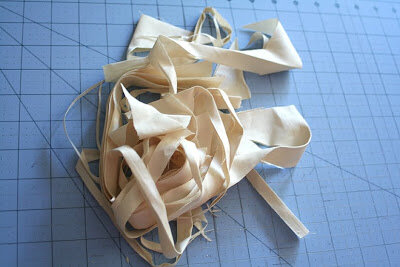 6. And here's the waste generated after cutting a half-yard worth of diamonds. Nice!
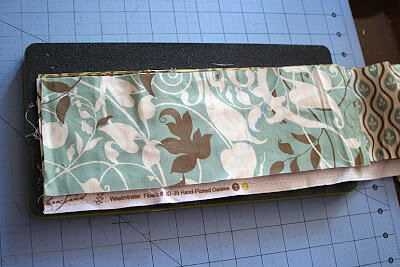 7. In addition to the solid diamonds, you'll need 18 print diamonds for this project. I cut 4" wide strips from my prints, layered the strips on top of each other, and rolled them through together.
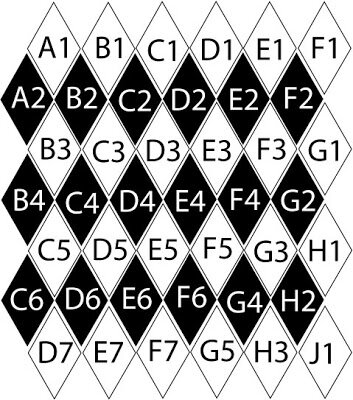 8. Lay out your diamonds, alternating solids and prints, according to the diagram above.
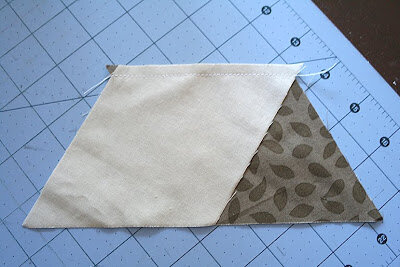 9. Now sew the diamonds together, working in rows diagonally across the pillow. So, you'll start by sewing together diamonds A1 and A2 in the diagram above. Line up the diamonds so that the edges intersect 1/4" from each point (right where your seam will be). This results in little triangles sticking out on each side called dog ears—see them up there? Make sure those dog ears are showing, and that they're roughly even on each side, or your rows won't be straight!
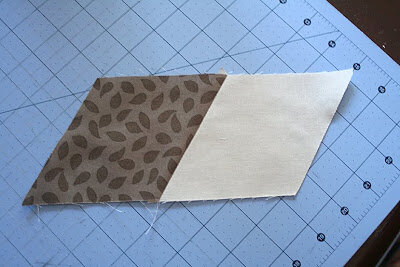 Here's what they look like sewn together.10. Now sew together the next row, numbers B1, B2, B3, and B4. Continue through the rows—sew together all the C diamonds, all the Ds, etc.—until you have 9 angled rows. Press your seam allowances open, using a dry iron. I press my seam allowances whichever way gives me the most accuracy. That can vary depending on the type of piecing—or at least for me it does. In this case, I think open is best.
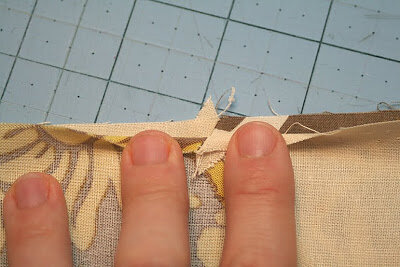 11. To sew the rows together, put two rows together, right sides facing. (Some rows are longer than others, so check the diagram to see which seams should line up with each other.) To match up the diamond points, flip down the top layer, as shown above, folding it down at the place your 1/4" seam will fall. You're looking for those angled seams to line up at that 1/4" point, as they do in the photo above.
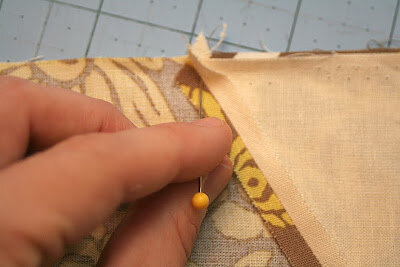 12. Once you've determined the seams are lined up, put a pin through the seam, exactly 1/4" from the raw edge, as shown.
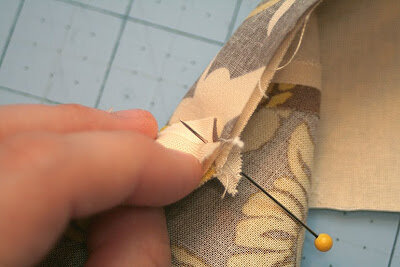 13. The pin should come out through the seam on the other side as well. (If it doesn't, just wiggle the pin as it goes through until you hit the right spot.) Then push the pin back through to the front side, as usual. Now you've not only marked exactly where your 1/4" seam should fall, you've pinned the two pieces in a way that they should align neatly!
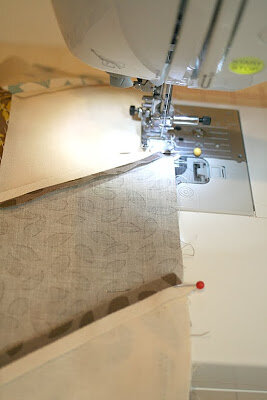 14. Sew directly over your pins. I sometimes remove my pins as I sew, but I found my diamonds lined up better when I left the pins in.
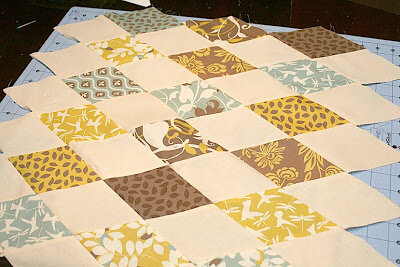 15. When all of your rows are sewn together, you should have something that looks like this. Trim your pillow top down to 18.5" square by cutting off the excess points at the edges.16. I quilted my pillow with straight angled lines, 1/4" from the seams, then finished with a simple envelope closure. (Here's a good tutorial for finishing a pillow.)The bottom line: I've found the GO! Baby to be a gigantic time-saver. I don't really see myself using it for squares, strips, or the like, but I can't imagine cutting more complex shapes without my GO! Baby! I'm also very interested in giving the Half Square Triangle die a try. Although, then again, maybe I shouldn't, considering the amount of time I just put in making HSTs the hard way for my Warm/Cool quilt!How about you? Want a GO! Baby of your own? You probably know the drill by now—I'll be giving away one of these, plus three dies of the winner's choice, in the next few weeks. So stay tuned!

