Ruby Star Wrap-Along: Fancy fabric envelopes
Hello, and thanks for visiting my stop on the Ruby Star Wrap-Along!
So, it's the holidays. I'm going to go out on a limb here and say that none of us need additional items on our to-do lists right about now. It's difficult enough to find the time to make or buy the gifts themselves. So if I'm going to get crafty with the wrapping/packaging, it better be with an easy, quick little project.
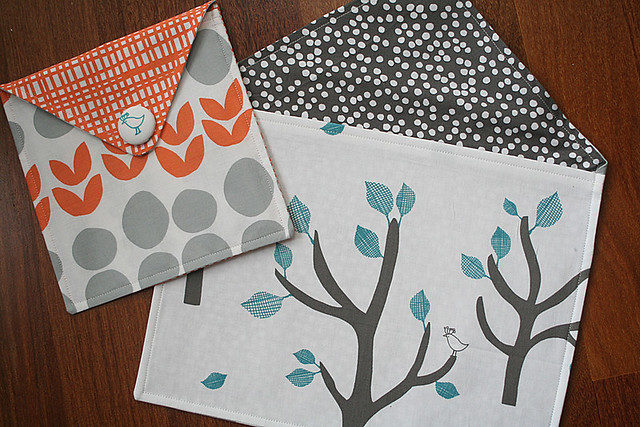
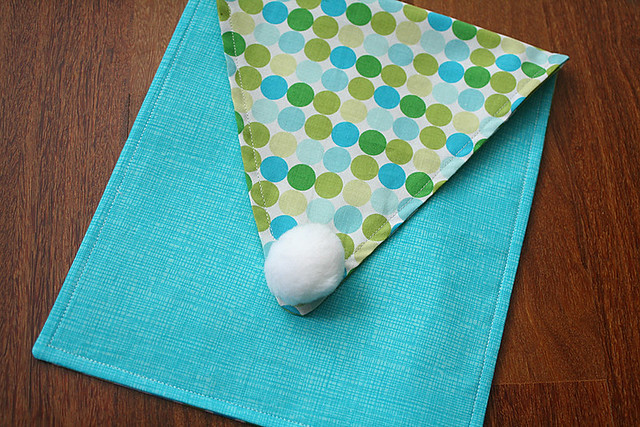
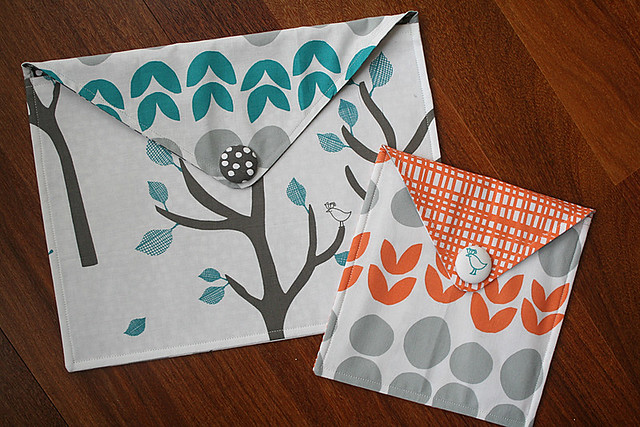
Thankfully, Ruby Star Wrapping by Melody Miller and Allison Tannery is full of projects like that, including these Fancy Fabric Envelopes. They're fun, simple, so lightning-fast to make, and a great way to show off favorite prints. I spent less than two hours making all three of the fabric envelopes in this blog post, and that includes finding and attaching the decorative accents on the flaps.

When I first looked at the instructions for the Fancy Fabric Envelopes, I thought, "Wait, why did I pick this project again?" Because there's math involved in this one, you guys. You have to add 1/4" here and subtract 1/2" there and multiply by 1.6 over here. Ack! Fortunately, once I started working my way through the project, everything made sense, and the math wasn't nearly as difficult as it had first appeared to be. The only issue I had is that it's easy to mix up which dimension is the height of the envelope and which dimension is the width, so keep track carefully.

My one other snafu was the discovery that you probably shouldn't use directional fabric on the back of the envelope. That directional fabric wraps around to the front and becomes a flap—which means that the fabric has to be upside down either on the back of the envelope or on the flap (as you can see, on my big envelope, the flap fabric is upside down). So, you may want to use directional prints only on the front of the envelope or the inside.

The pattern also calls for some sort of decorative notion on the front flap. I've had a kit that makes fabric-covered buttons hanging around for ages, but never quite knew what to do with it. I finally got my chance to use it with these envelopes! The buttons make great accents on the flaps.

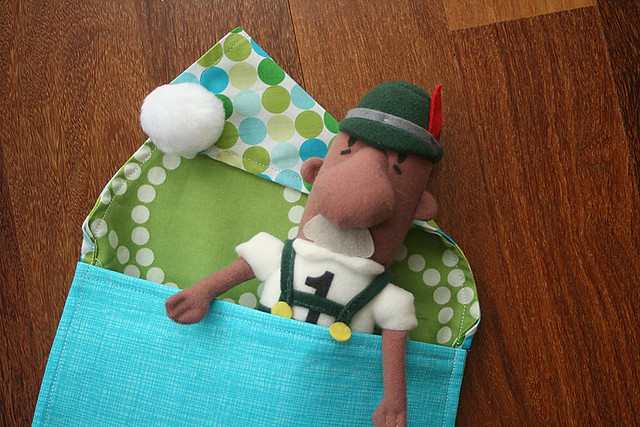
For this one, I threw caution to the wind and attempted to adjust the proportions of the front flap a little. In order to make the flap longer, I started the flap triangle an inch or so below where it was supposed to start. I like how it turned out.I was thinking I might use these as teacher gifts, but my 3-year-old has decided they also make excellent beds for her Brewers Racing Sausage dolls. So maybe we'll keep them after all. I would hate for Bratwurst to have to sleep on the cold, bare floor.
Want to get the Ruby Star Wrapping book? You can pick it up at Amazon, of course. Plenty of other places too, I'm sure!
Don't forget to link up your Wrap-Along projects at Amy's blog for a chance to win great prizes! You can link up right here. Thanks, Amy, for having me on the Ruby Star Wrap-Along! And check out the rest of the stops on the Wrap-Along:
11.7.12 - Anna of noodlehead
11.9.12 - Amanda of A Crafty Fox
11.12.12 - Elizabeth of Oh, Fransson!
11.14.12 - Brooke of Pitter Putter Stitch
11.16.12 - Erin of Two More Seconds
11.19.12 - Jennifer of BettyCrockerAss
11.21.12 - Rochelle of Lucky Lucille
11.23.12 - Sukie of Sukie - don't you know who I am?
11.26.12 - Elizabeth of Don't Call Me Betsy
11.28.12 - Gina and crew of Bolt Neighborhood
11.30.12 - Ellen of the Long Thread
12.3.12 - Katie of Swim, Bike Quilt
12.5.12 - Faith of Fresh Lemon Quilts
12.7.12 - Lee of Freshly Pieced
12.10.12 - Maureen of Maureen Cracknell Handmade
12.12.12 - Sara of Sew Sweetness
12.14.12 - Colleen of The Busy Bean
12.17.12 - Amy of Diary of a Quilter
12.19.12 - Monica of The Happy Zombie
P.S. Like my snazzy new look for the blog? I've got a few tweaks left to make in the coming days, but I'm thrilled to be freshening things up around here! : )

